A break-down on how to take band photographs
I really enjoy band photography. Bands are usually looking to do something eye-catching and artistic, and if you’ve felt like your photos have gotten stagnant recently then band photos is a great way to break that cycle and get creative again.
When my friend, accomplished musician and journalist, Brian Lisik hit me up for some updated photos for his band I immediately jumped at the chance. He’s fun to work with and usually lets me explore my own creative visual interpretations when it comes to taking his photographs. It should go without saying just how good creative freedom like that feels. But wait, there was an added bonus: he had access to a place called the Akron Glass Works, an old church turned glass blowing forge and shop. Obviously, at this point, there’s no way I can pass any of this up. So, we set a date to take some pics!
Picture-day arrives, we all show up, we walk inside and immediately we were struck by how cool this place was. Being an old church it had all of the features you might imagine; chapel, organ with pipe rooms, stained glass windows, etc! We decided to stay away from the chapel, however, since we didn’t really want a serious churchy vibe. Instead, we decided on using a lot of the rooms off to the sides of the main church areas. Old storage rooms, weird empty spaces with benches, creepy hall ways, and things like that.
Our first room was, what appeared to be, a private viewing room with a small stage tucked into an alcove. What this would have been used for is unknown to me, but it was as easy place to start, and right there is lesson #1: Start easy when you can. If people are still working up their energy, don’t drag them into the most convoluted photograph right off the bat. It’ll also help you ease your own mind into the task at hand.
For us, we found a cool room with old furniture and stained glass windows – done, no brainer, let’s go! I set up 2 lights. One key light for the two members sitting on the couch, and another for the band member sitting on the opposite chair. I had my camera on a tripod because the room was dark and I wanted to pick up some of the ambient light in addition to the flash. Here’s photo number 1:
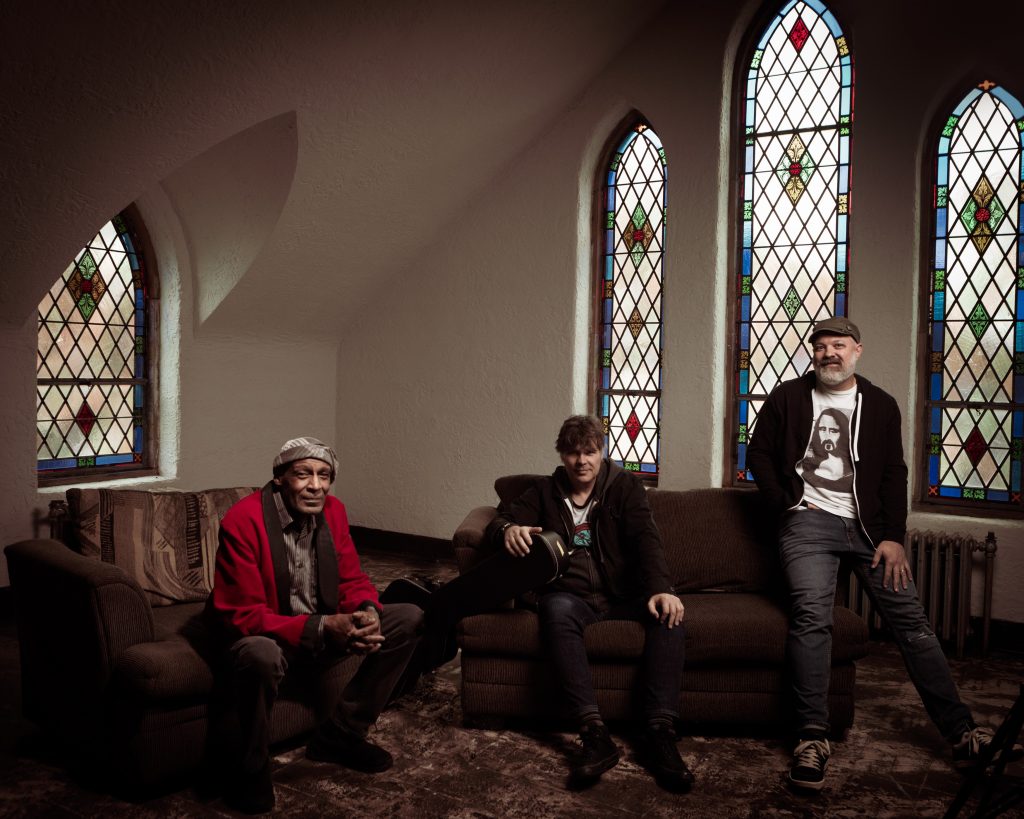
At it’s heart this photo is just a very nice, simple, expression of the people in this awesome room. The ambient light still dominates the mood and the flash (two umbrellas, one pointed at each group) just helps separate the subjects from the background every so slightly.
Photo #2 was a chance to play around with those cool stained glass windows there in the back. I mean, think about it; three band members, three stained glass windows. Hmmm!
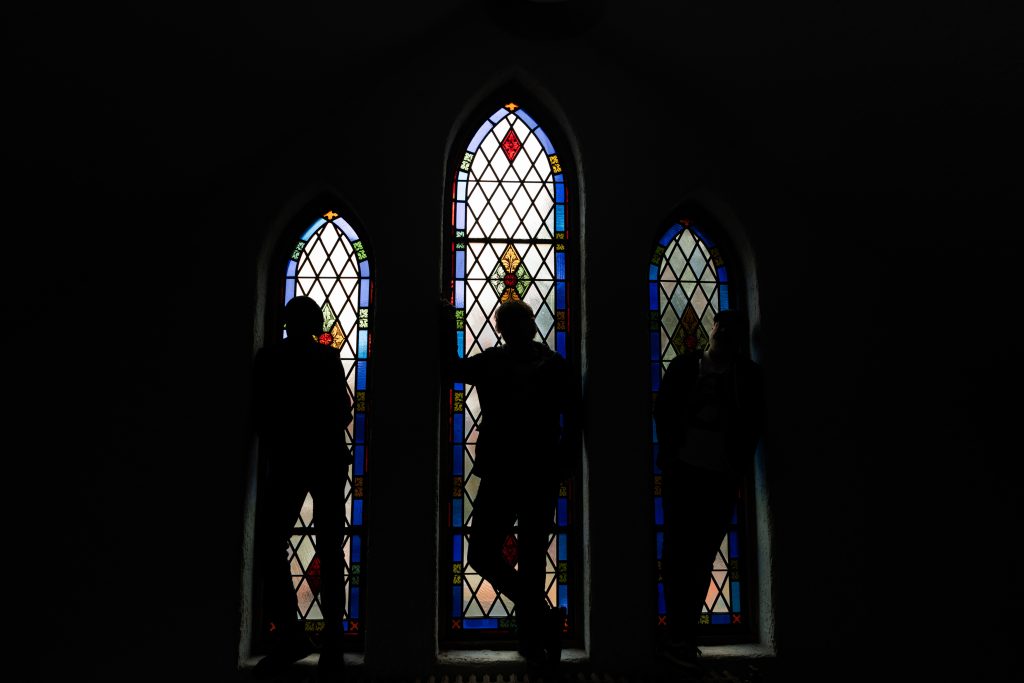
This is just a mood photo, plain and simple. Silhouettes against some stained glass windows. The graphic designer in me loves photos like this!
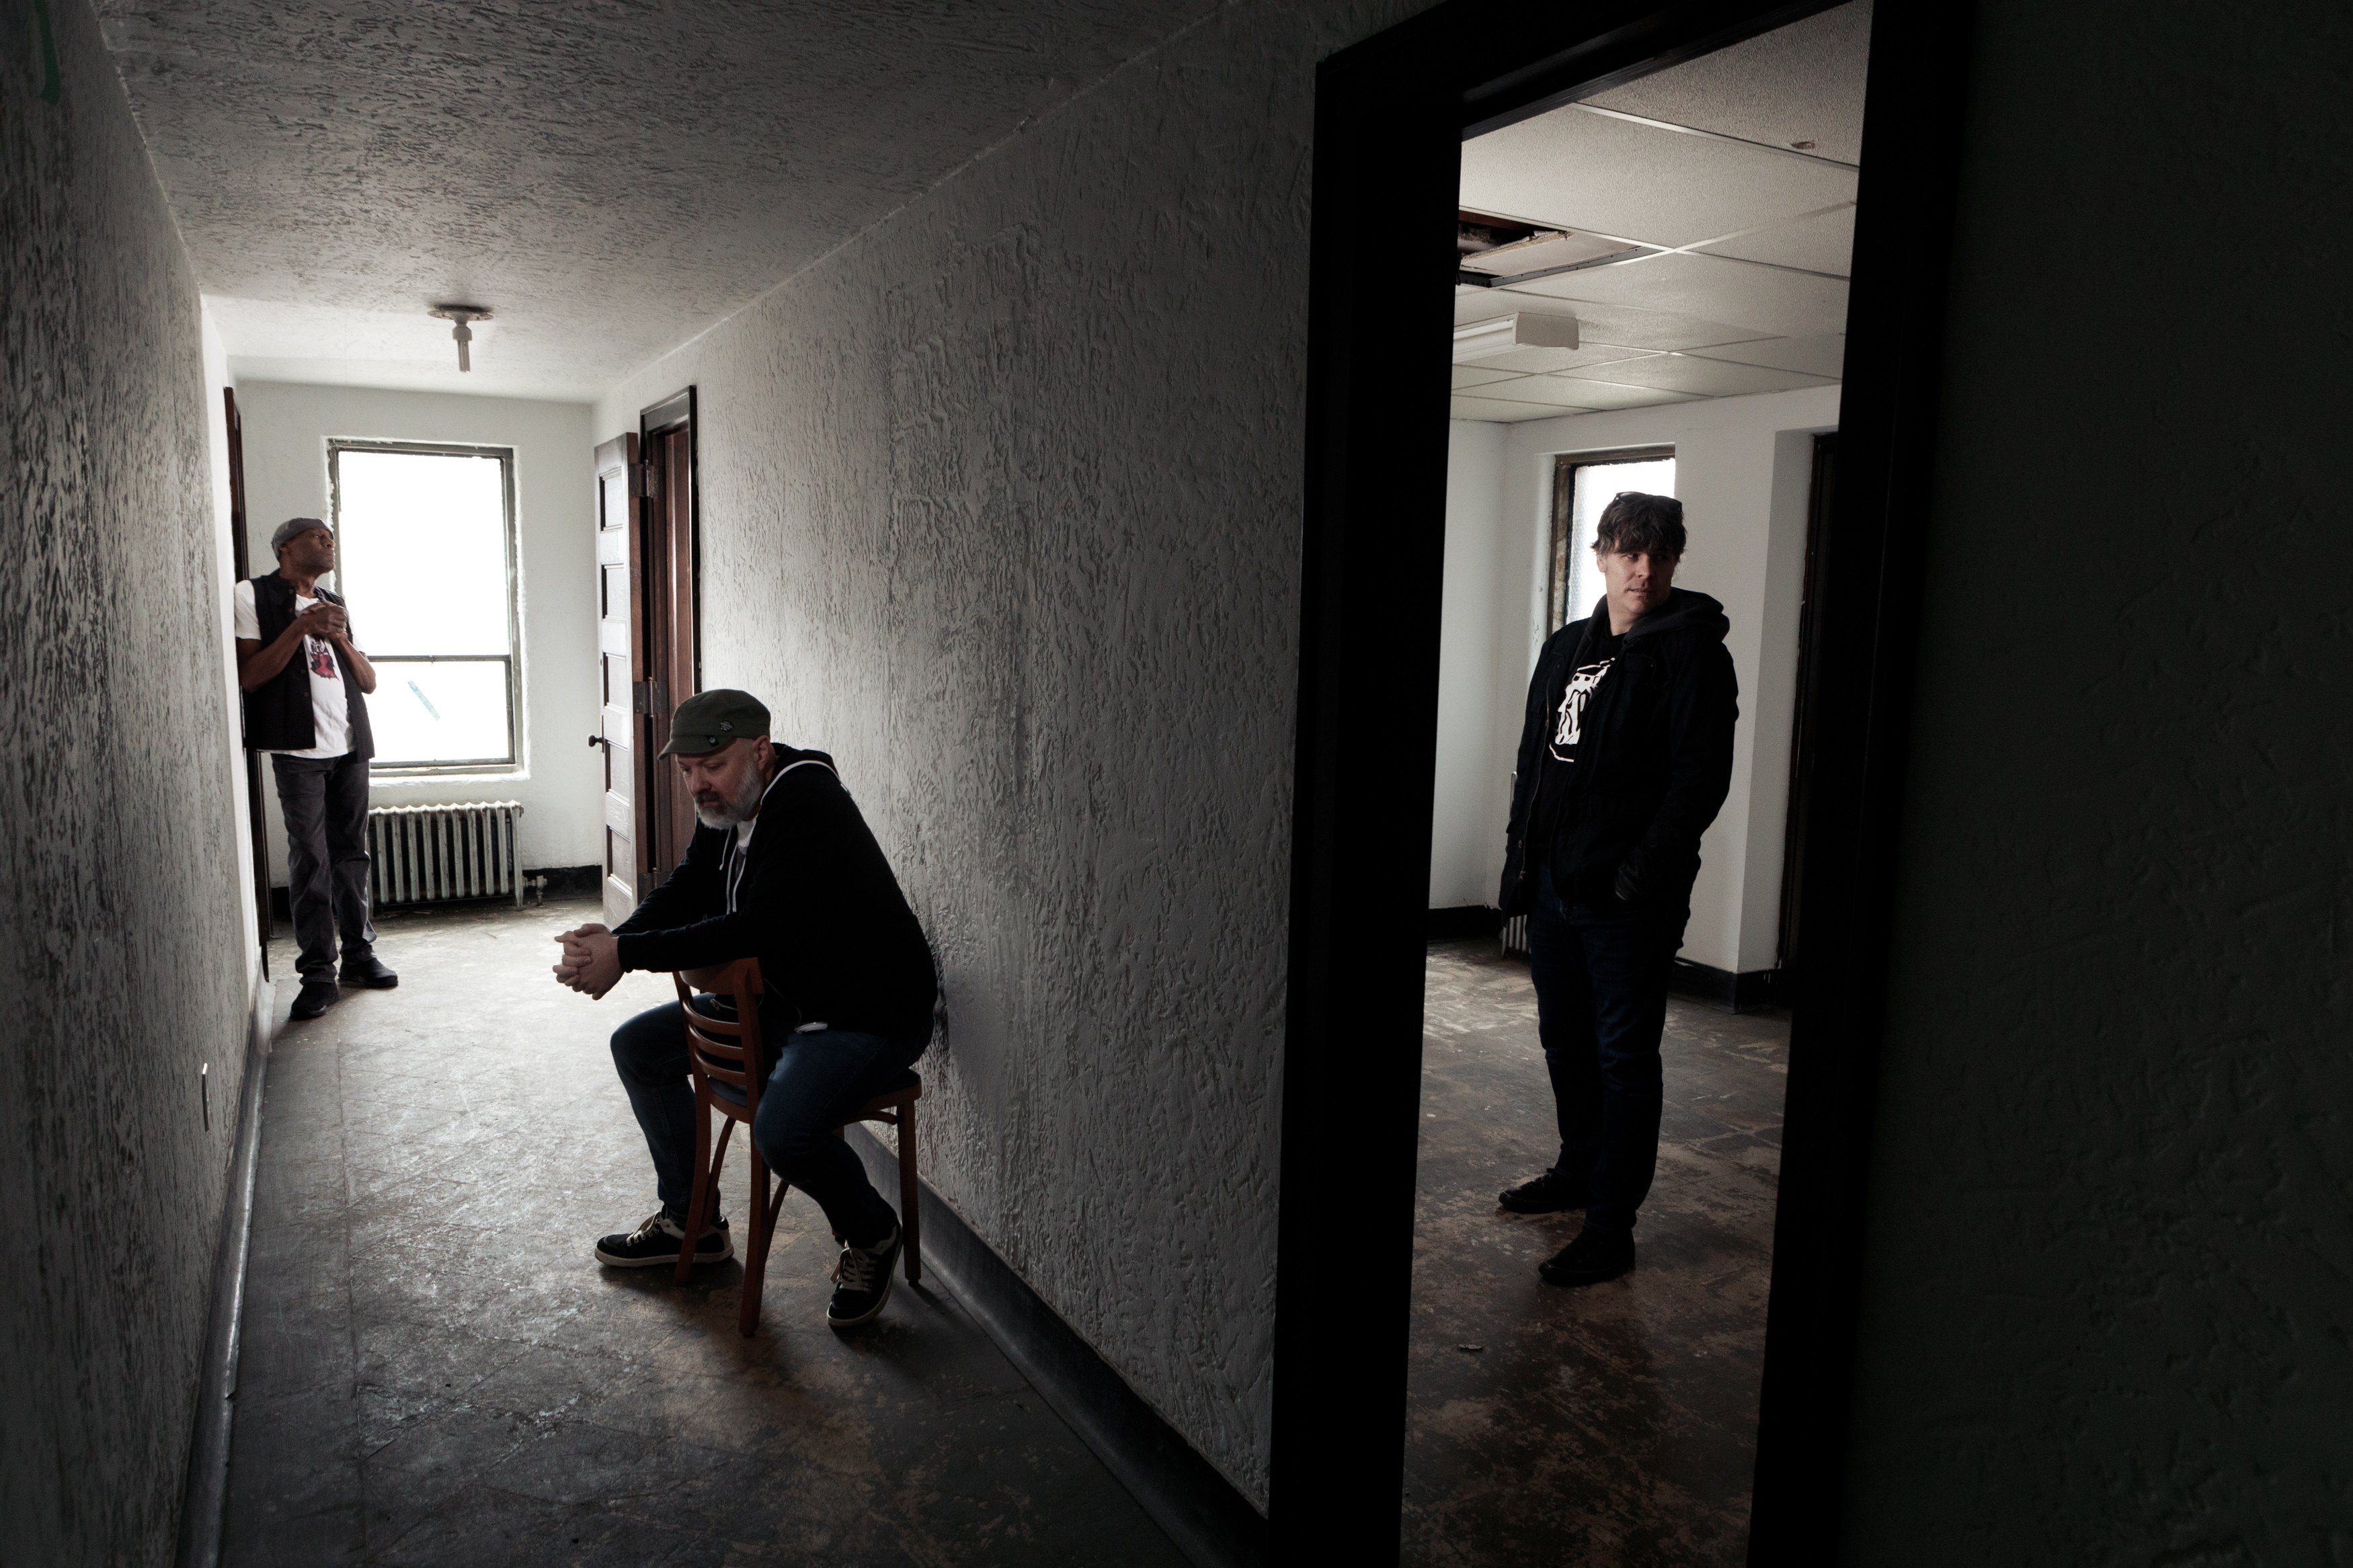
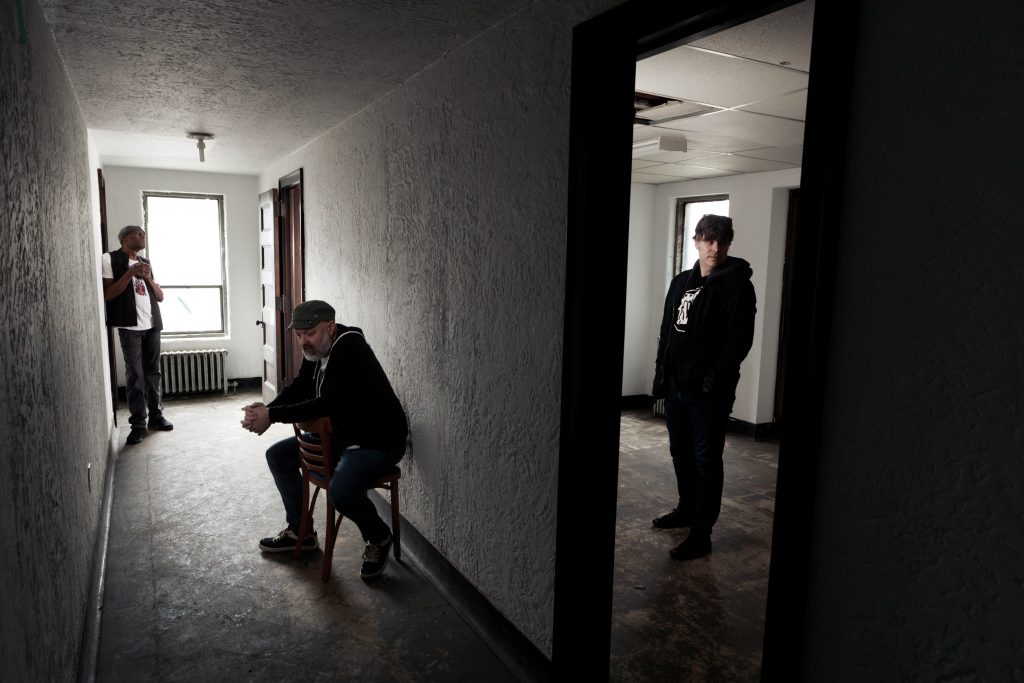
Photo #3 was our most complex. We found an old storage room that looked busy and cluttered. But it just had a lot of character to it. I went in and spent about 20 minutes setting up lights and then once I was ready I started to put our subjects into the scene.
I’m a huge fan of shadows and this photo really shows that. I started off by overlighting the whole area and then brought it back dramatically by the time we had taken this picture. Here I am using about 70% ambient room light and only 30% flash. The flash itself is relegated to just our subject’s faces and I am even using honeycomb grids to really restrict how far the light spreads. The way the light evolves from left to right is also something we worked on. Because the room was so cluttered light was sort of peeking through odd spaces here and there and wasn’t lighting anything consistently. I tried to mimic that a little bit with the flash as well. Here we have Martyn (far right) only half-lit by the light coming through the upturned pews over his left shoulder (which is actually a flash placed way at the back of the room). Meanwhile, Robb (far left) and Brian (middle) are lit from off-camera flash, the window, and the light that’s also sneaking through the pews behind them. Lots of light to contend with here, but we pulled it together!
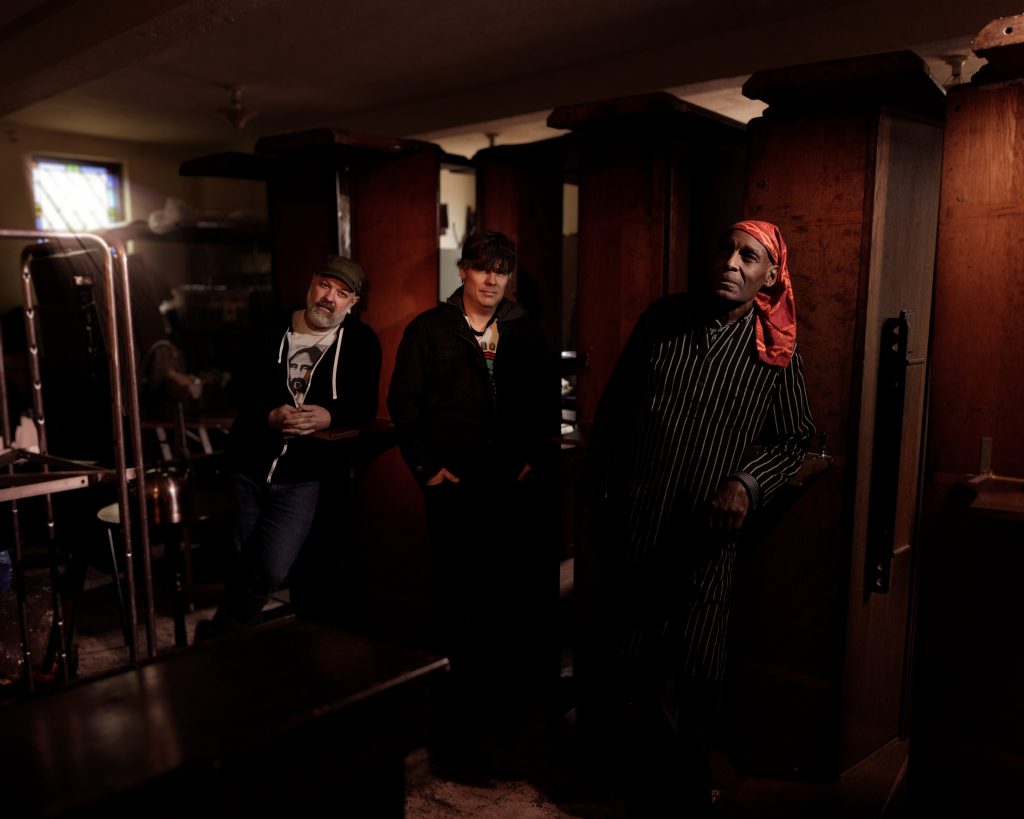
Photo #4 was actually pretty easy to pull off even though it used the most camera trickery. Lets take a look at it.
The thing to know here is that I only have two lights with me, but I have to light three people in three different places. The solution is actually a pretty easy one. Remember how I said I used my tripod all day? Well, here I was able to use a little camera-on-a-tripod trick that makes all of this possible!
I set up my camera on the tripod in it’s final position and then used my two flashes to light brian (In the room) and Martyn (back of hall). Click! Picture number one done.
Next, being very careful not to bump the tripod, I went and took one of the lights and positioned it for Robb (middle) and took my second photo: Click! Now, back in photoshop I simply composite the two photos together to get everyone lit correct in one photo! The only trick here is to make sure your camera and tripod do not move between photos! Otherwise, you are in for a compositing headache!
Our last photo of the day was our easiest. A simple available light photo with everyone sitting on a grouping of benches beside some windows.
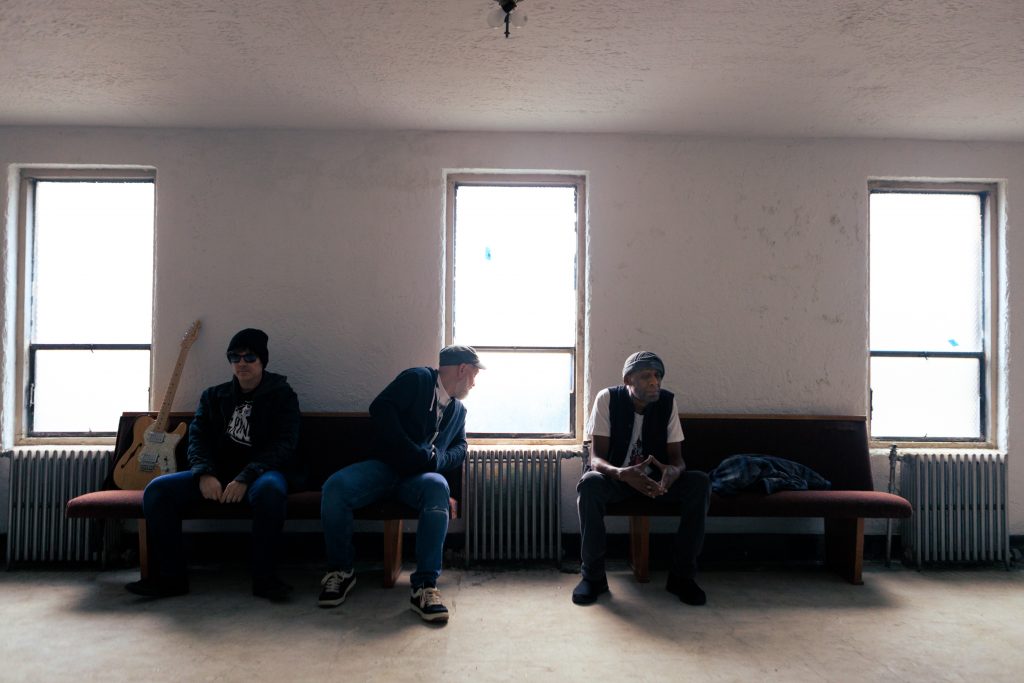
It’s both bright and dark, a little moody and just has this cool, realistic vibe to it that only ambient light in a cool location can provide.
Which photo location was your favorite? And are you a fan of flash or ambient light? Feel free to drop me a line over at Twitter at twitter.com/abject and let me know what you think!