Managing and crafting light is the true, singular fundamental principle of photography. Photography itself is the capture of a moment’s light signature. Beyond just taking in what a scene may give you by default, however, you have the ability to affect the available light by either shaping, shading, or adding in more light to fit your creative desire.
Beyond the use of something like modifiers (the best tools for shaping light) you also have at your fingertips the ability to change the color of your light as well. Color is evocative, it’s emotional, and it’s just another great tool in your photo arsenal. Before playing around with colored lights I would strongly suggest you do a little research on the basics of color theory. Even a little knowledge will carry you a long way. Their are literal infinite ways to incorporate colored lights into your pictures, but we’re going to look at one of the more straightforward methods here.
Color as Separation
Taking a cue from movies and theatre, we can use light and color to add separation in our scene – specifically, separating our subject from the background. We’re going to do this using two simple techniques. First, we’ll spotlight our subject, and secondly we’ll ‘paint’ the background in a different color so our subject pops out from it. Here’s how it’s simple in just a few easy steps.
- Place subject some distance away from the background
- Point your main light at the subject
- Point your fill light, with colored gel, at the background (Gel is the term for modifier that changes the color of your light. Gels often come in sheets)
- Dial in the desired lighting and exposure ratios between your lights and camera
- Take a picture
There, it’s that simple! Like, really. I’ve even created this little diagram to show you how you may want to set up your lights to get this effect.
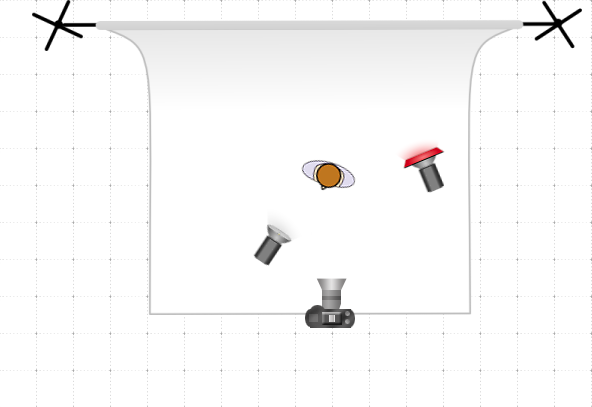
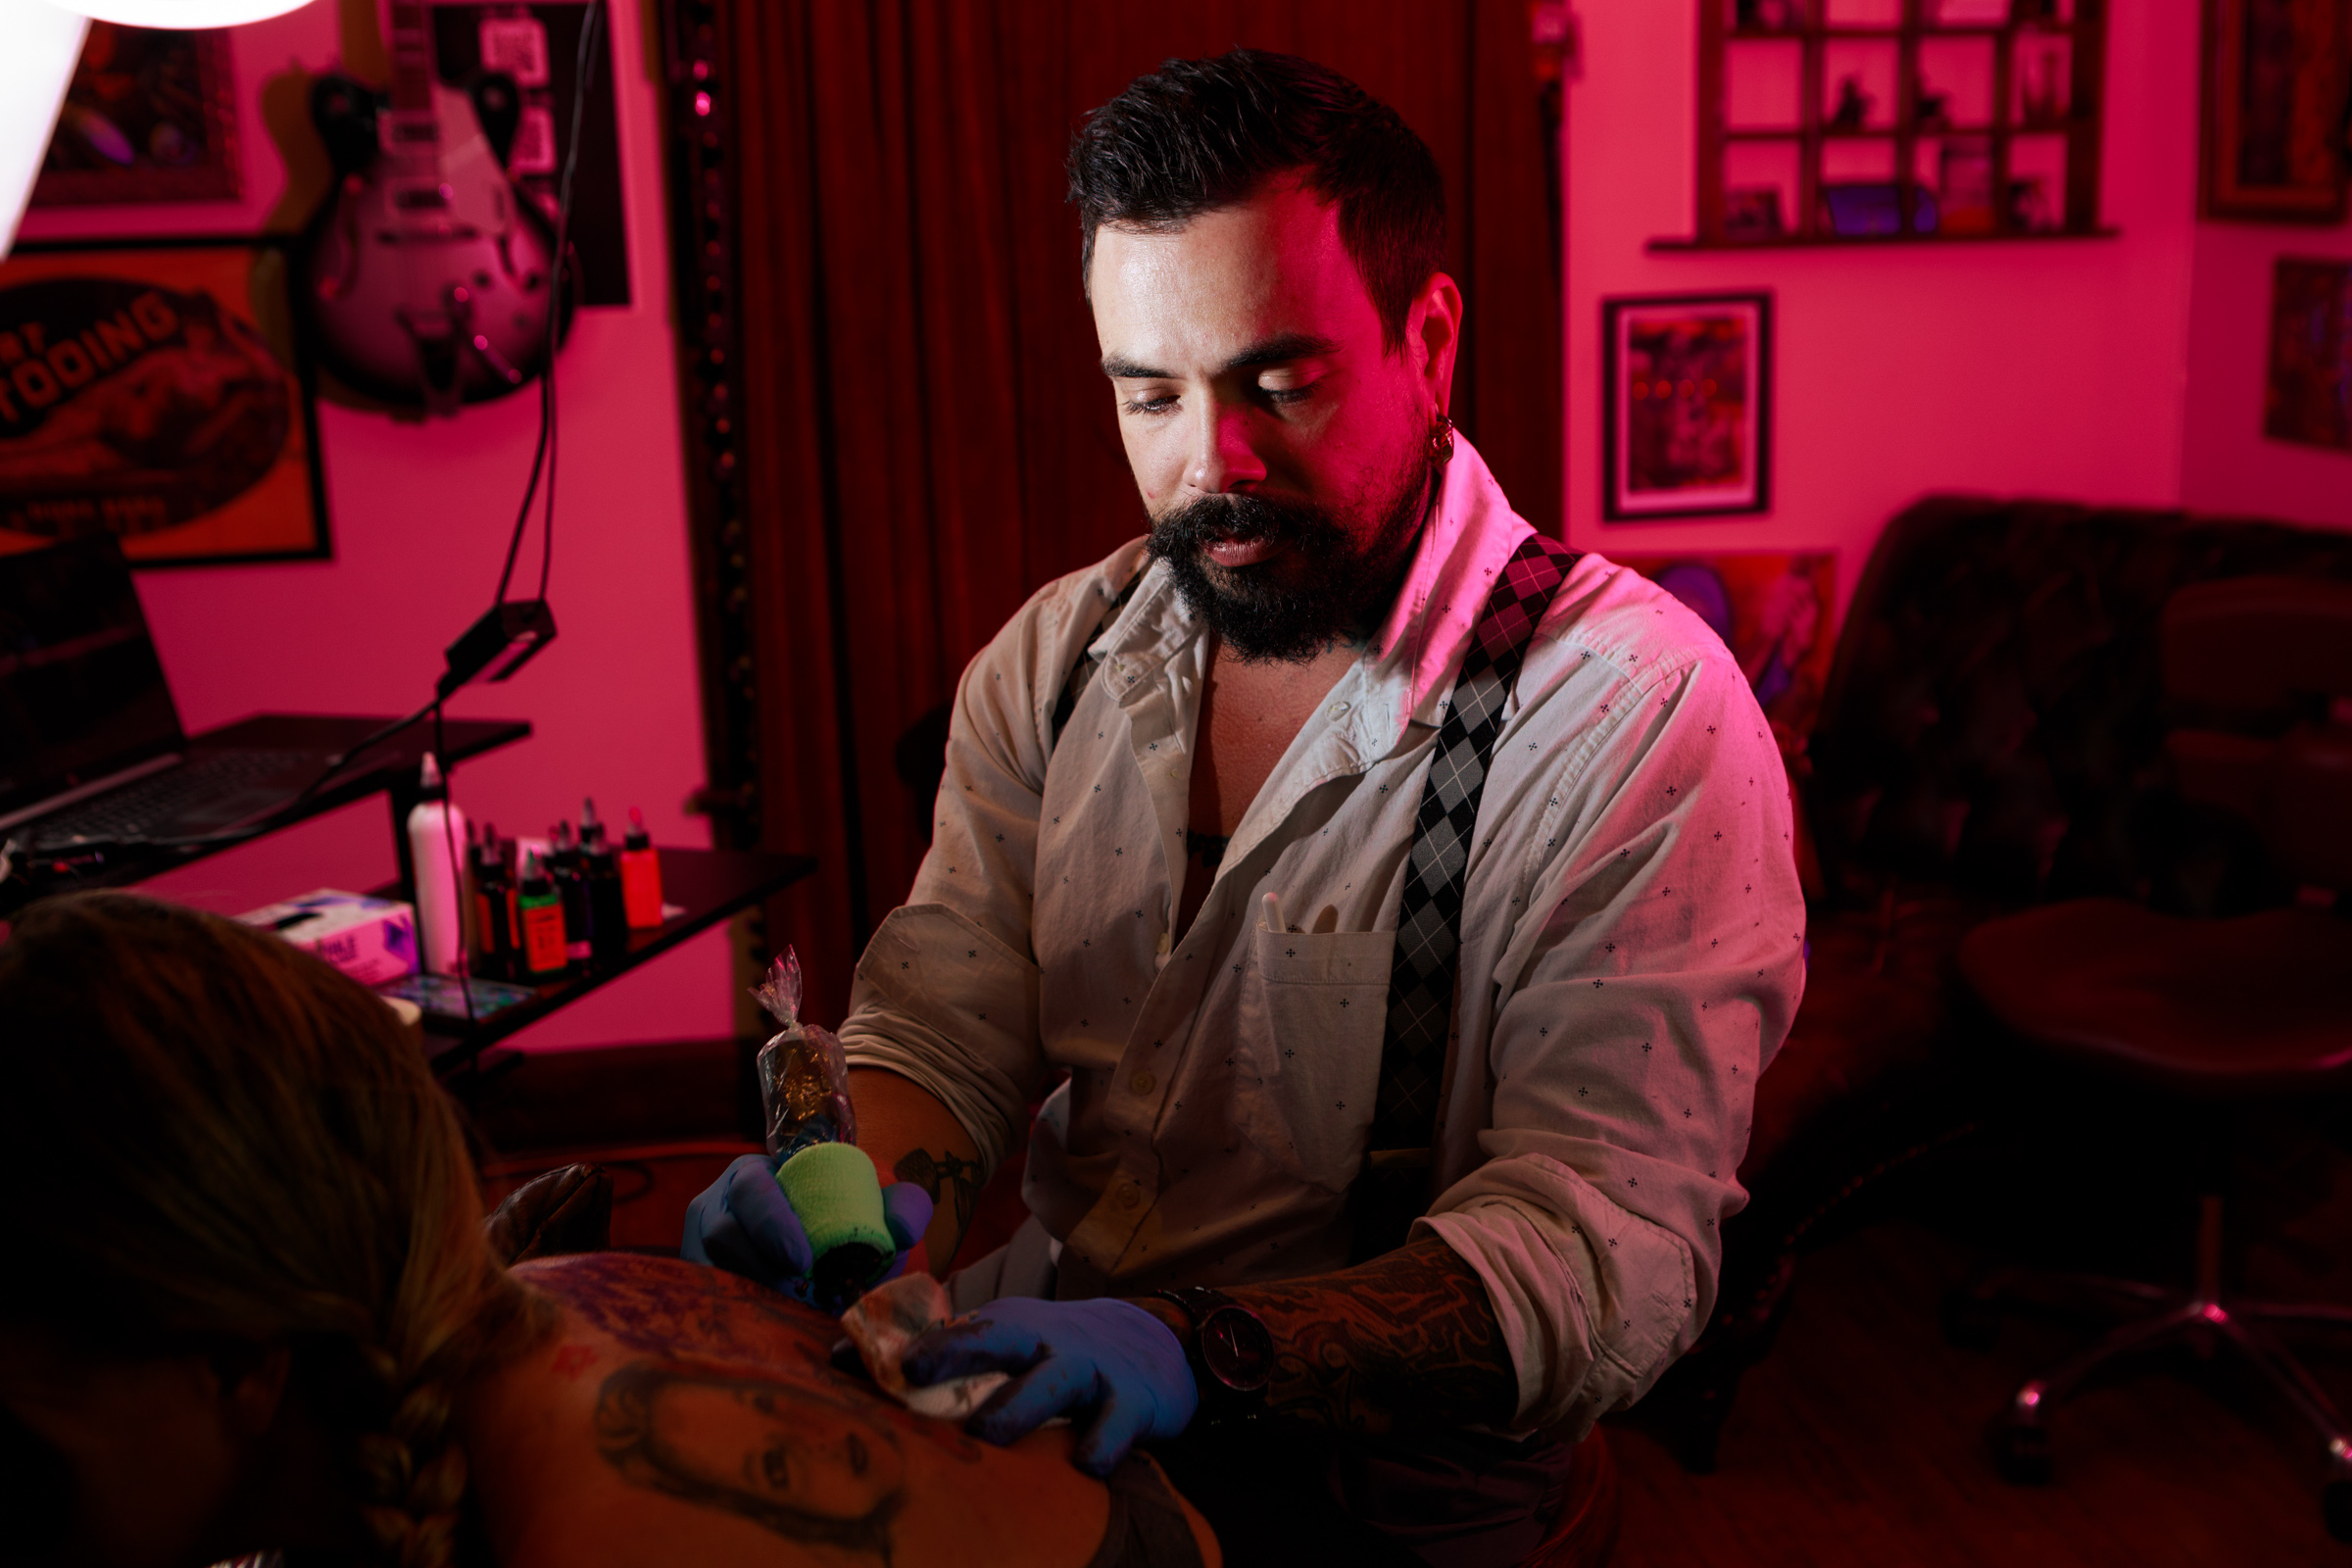
In the diagram, you can see exactly how I positioned the lights to get the photo above. I even used my background light as a fill light, pointing ever so slightly towards the shadow side of the subject so the dark side of his face would take on the deep magenta hues of the colored light.
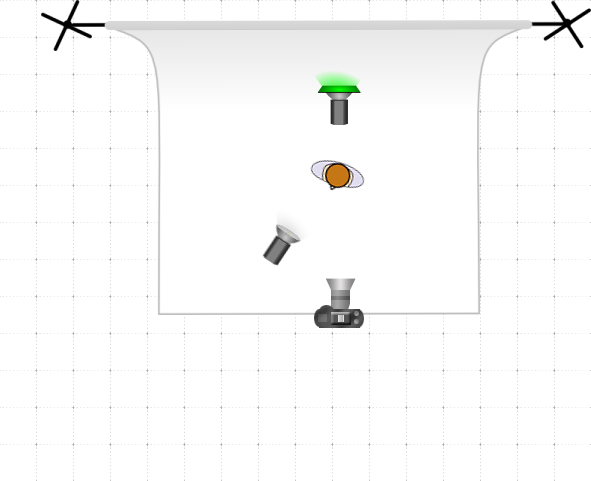
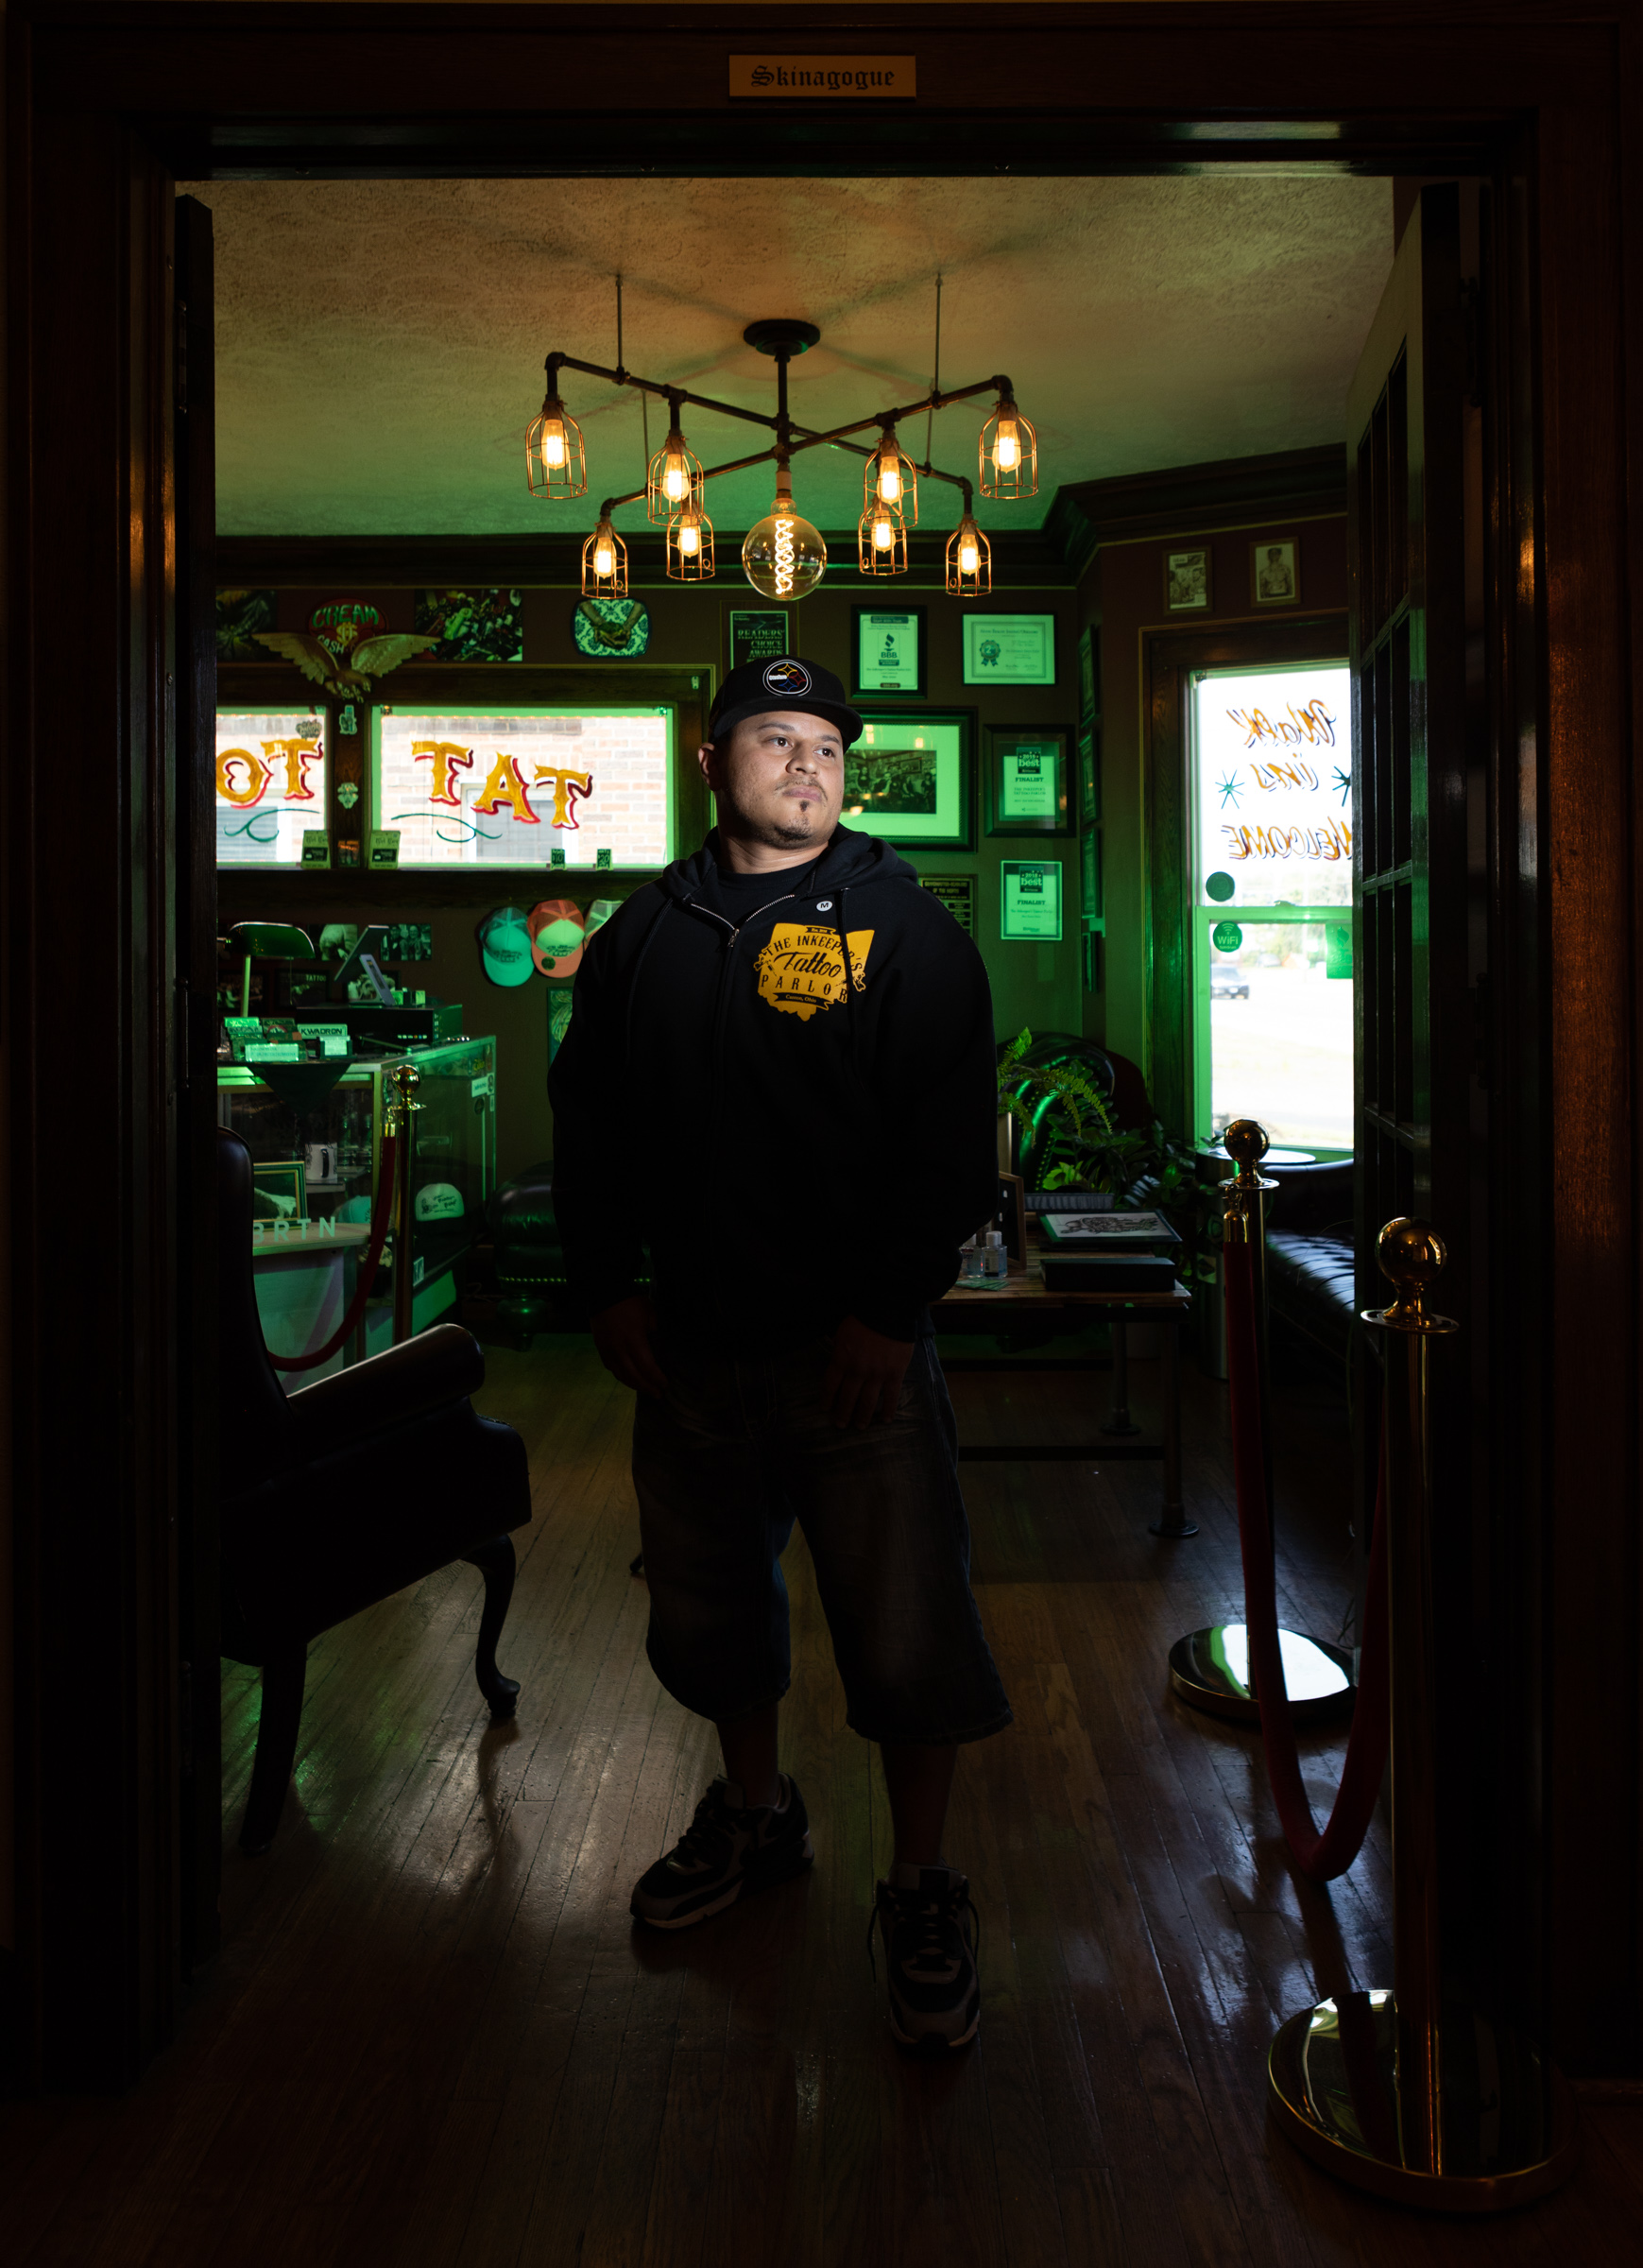
You can also place your colored light behind the subject, directly lighting the background only. That looks something like this:
And lastly, you can using something called a snoot, or a grid on your main light and only selectively color one subject at a time.
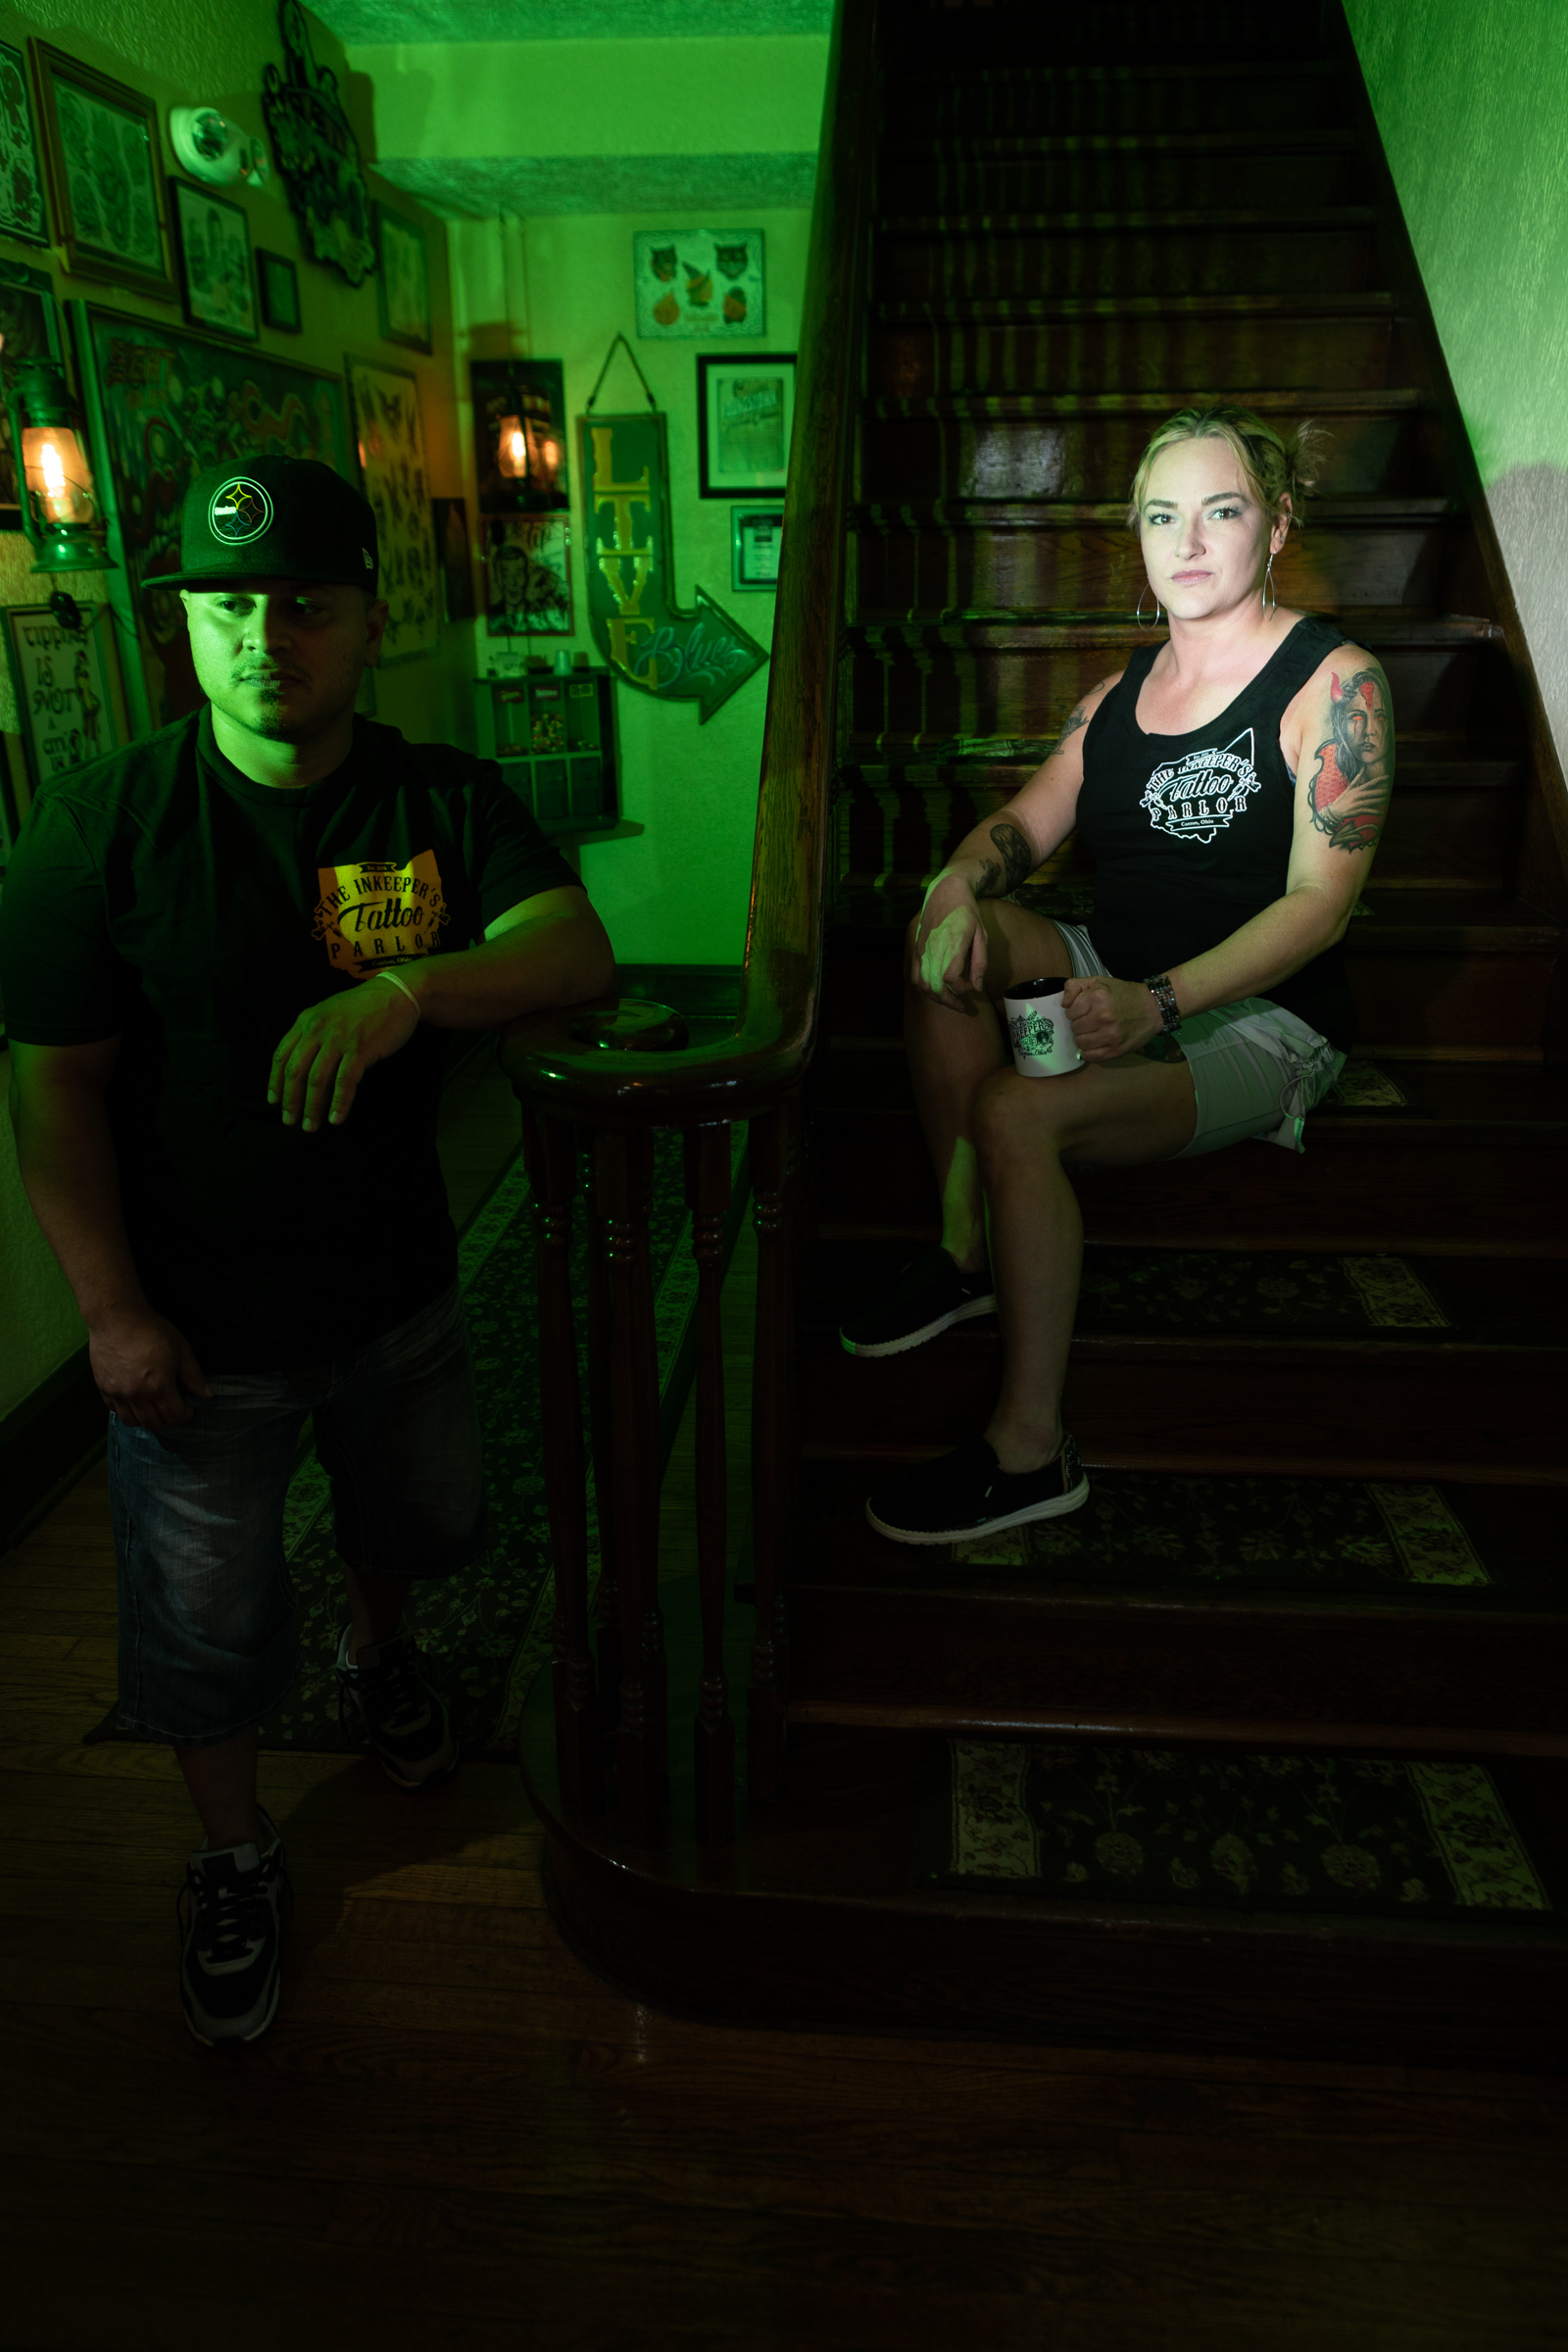
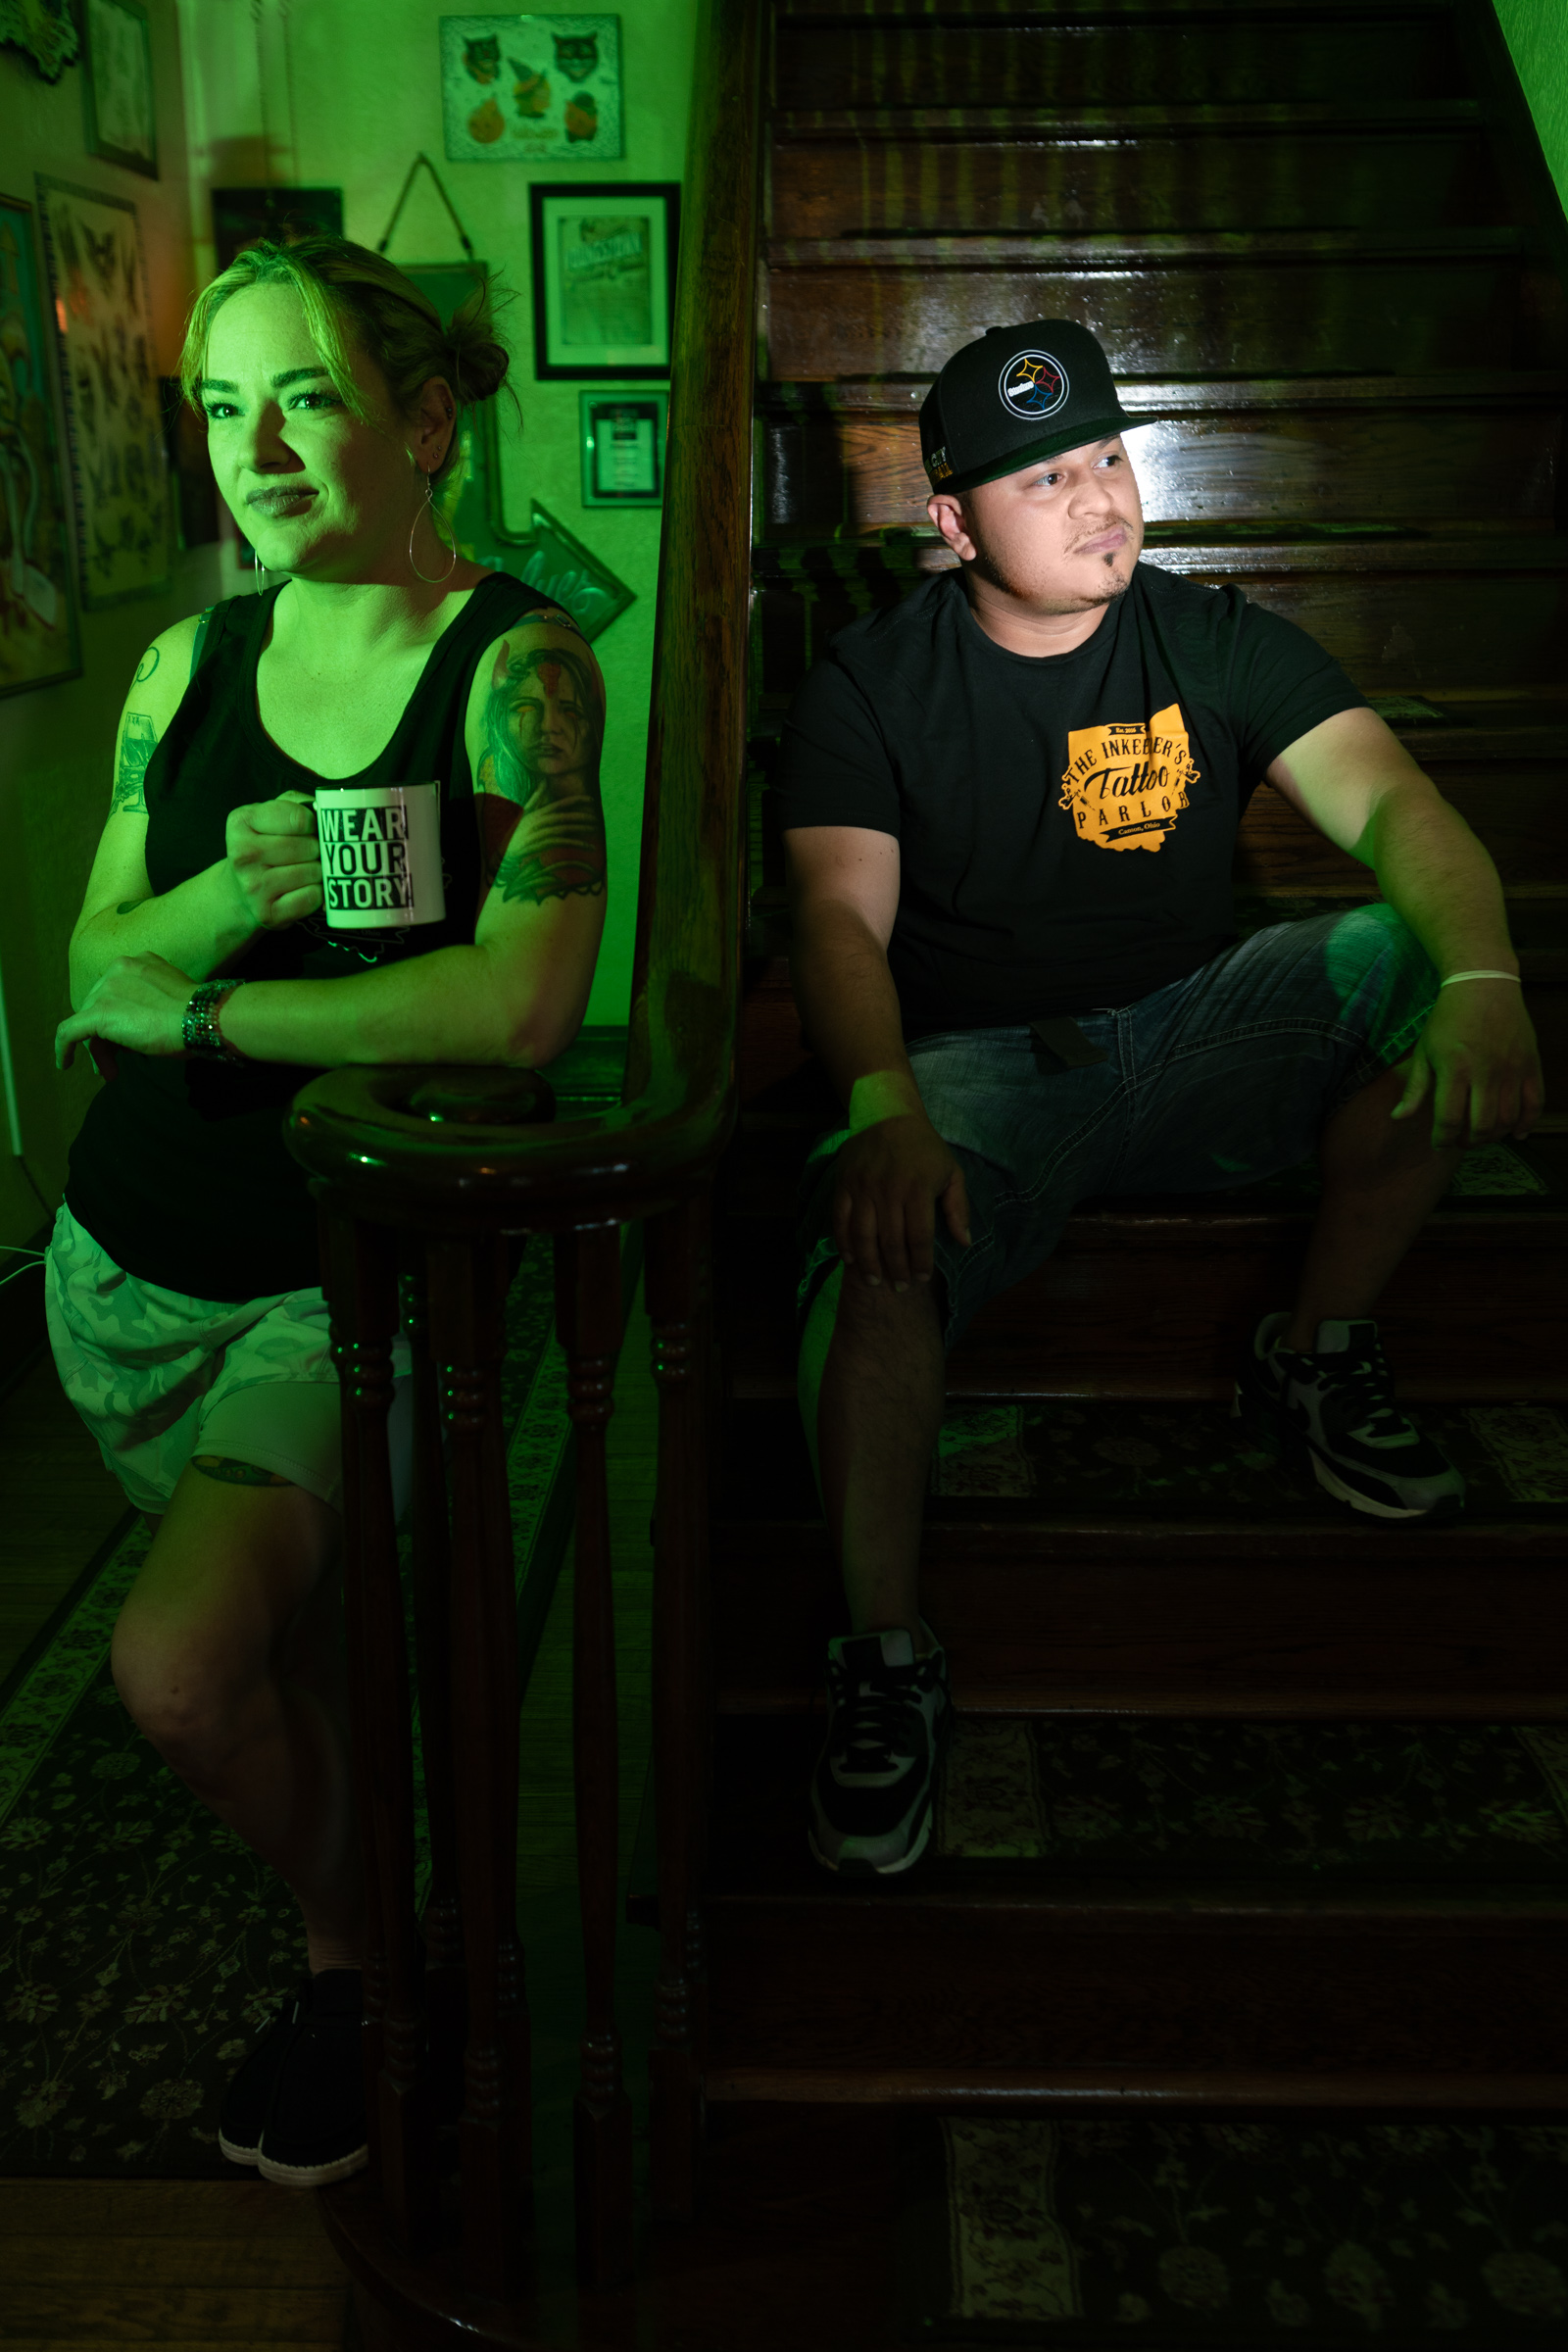
Like I said, nearly endless possibilities and combinations of how you use this simple, two-light, setup that can really make your subject jump out!
