I am a child of the 80's...
… which means I am direct product of that decade. I was never a big fan of 80’s Hair-Metal but I’ve always loved the imagery of that era. As we started to move away from analog and into digital’s earliest incarnations we all took a big step back in quality. People think of VHS as an analog medium, but unlike the homemade movies shot on film in the 60’s and 70’s – which were a true analog and very chemical-based affair – VHS was rendered to tape using electricity and other various pieces of digital wizardry. It’s part of this loss in quality that help define the 80’s within its time in history and also teaches us the concept of, ‘low-quality doesn’t always mean bad-quality’.
Also, the 80’s were a time of great exploration into the visual mediums. For me, there’s never been a time in my life where the movies were more over the top, more gory, more cheesy, more whatever. Sure, we all praise and award movies who work their messages in more subtle manners, but I think a lot of people can also appreciate how wonderful ‘blatant-and-unrepentant’ can be as well!
Enter Stranger Things; a new visual and story-telling trip down a cracked 80’s memory lane. It’s amazing to watching Stranger Things and see my childhood, bikes, clothes, and adventures right there on screen for me to relive. Okay, so my real life adventures at that age weren’t quite as surreal, but they were certainly just as grand within my imagination.
It’s truly an amazing show and it has captured a lot of people’s interest. One such couple, some family friends of mine, have two daughters who they watch the show with. When their oldest daughter shaved and donated her hair to Saint Baldricks, they realized she was a complete doppelganger for one of the TV show’s main protagonists – Eleven. So much so that she was being stopped in the street and people would take pictures of her and follow her around, convinced she was Millie Bobby Brown.
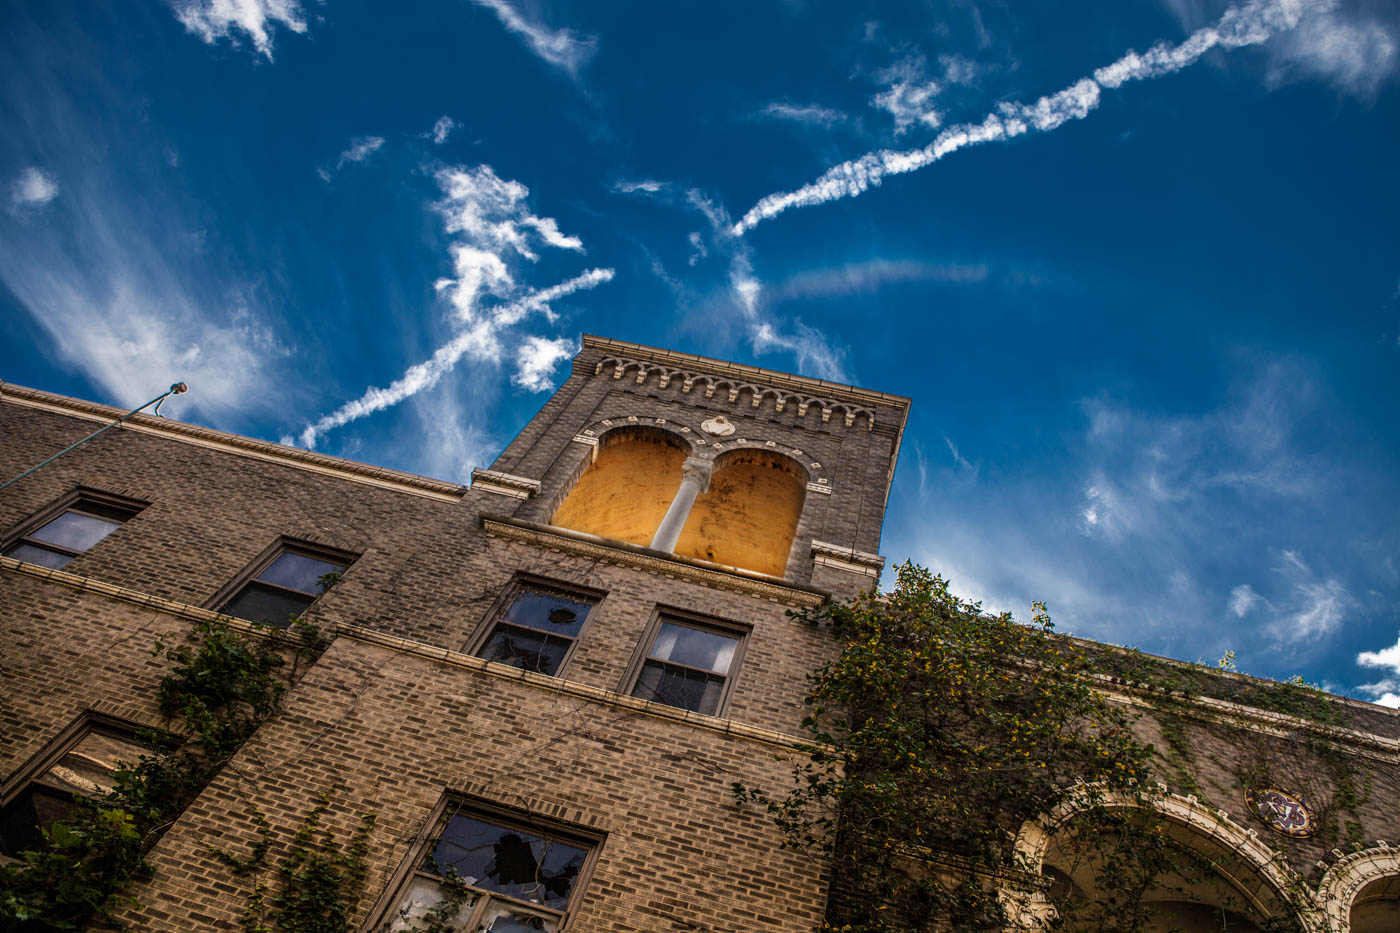
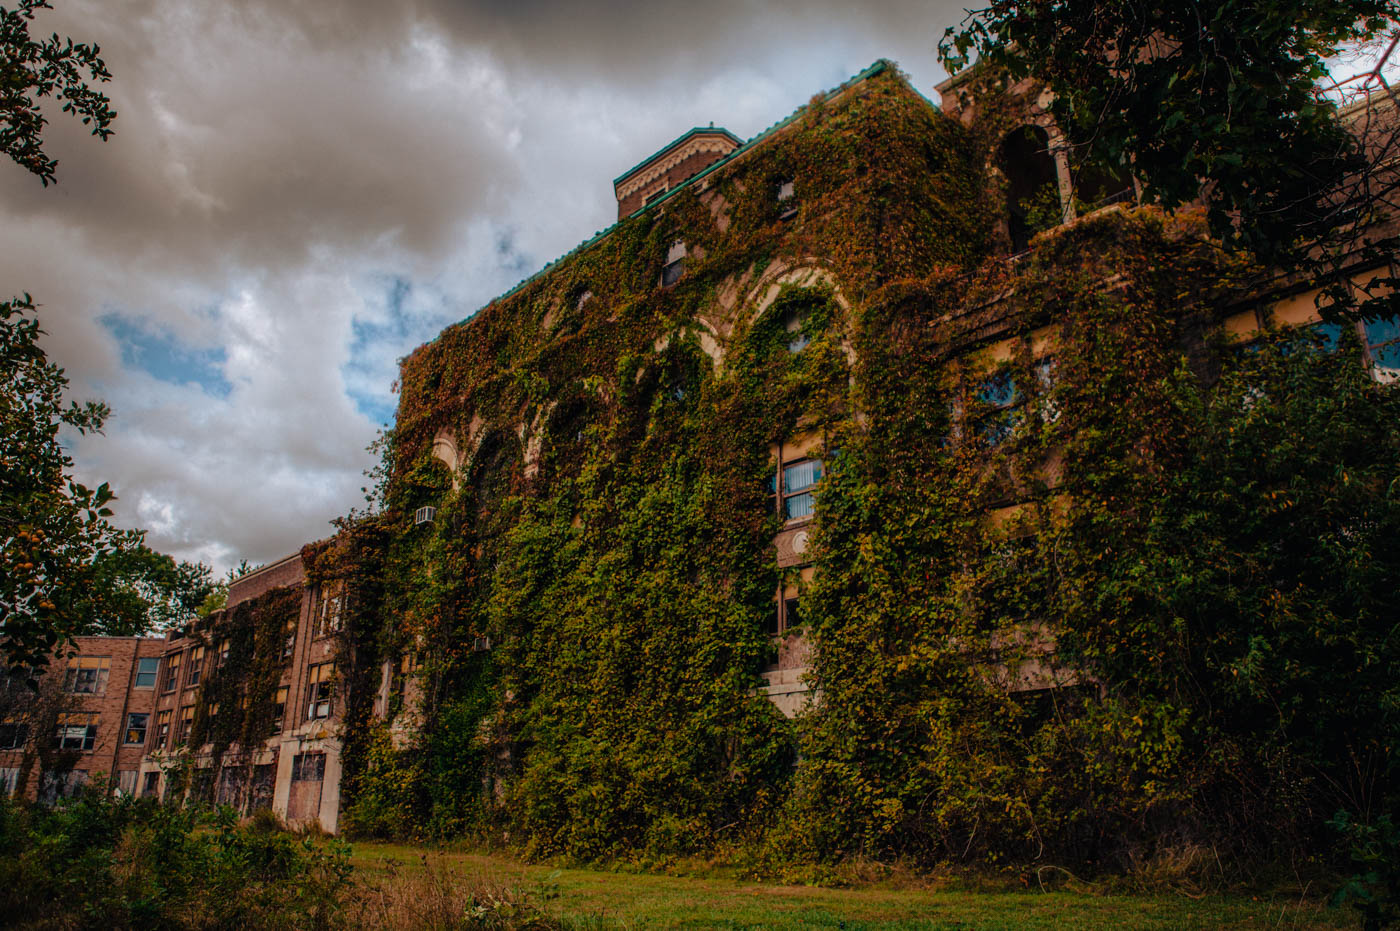
So, we decided to capitalize on this and do a fun Stranger Things photo shoot! They were in charge of the wardrobe, and I would find the right location. For that location I chose the Molly Stark Sanatorium; an old tuberculosis hospital about 30 minutes out of town. This place is defunct, abandoned, and just oozes a whole new level of creepy, so, as you can imagine, it turned out to be the perfect location.
We showed up around 8pm in the evening. It’s mid-Spring at this point of the year so the sun sets around 8:30 pm. The forecast originally said it would be sunny, but rain had moved in earlier throughout the day and now it was overcast – which wasn’t a problem since we were taking a potentially moody photo. The only impact the cloud cover had on the location was that I instantly lost about 2 stops of light as the sun was setting behind a large blanket of clouds.
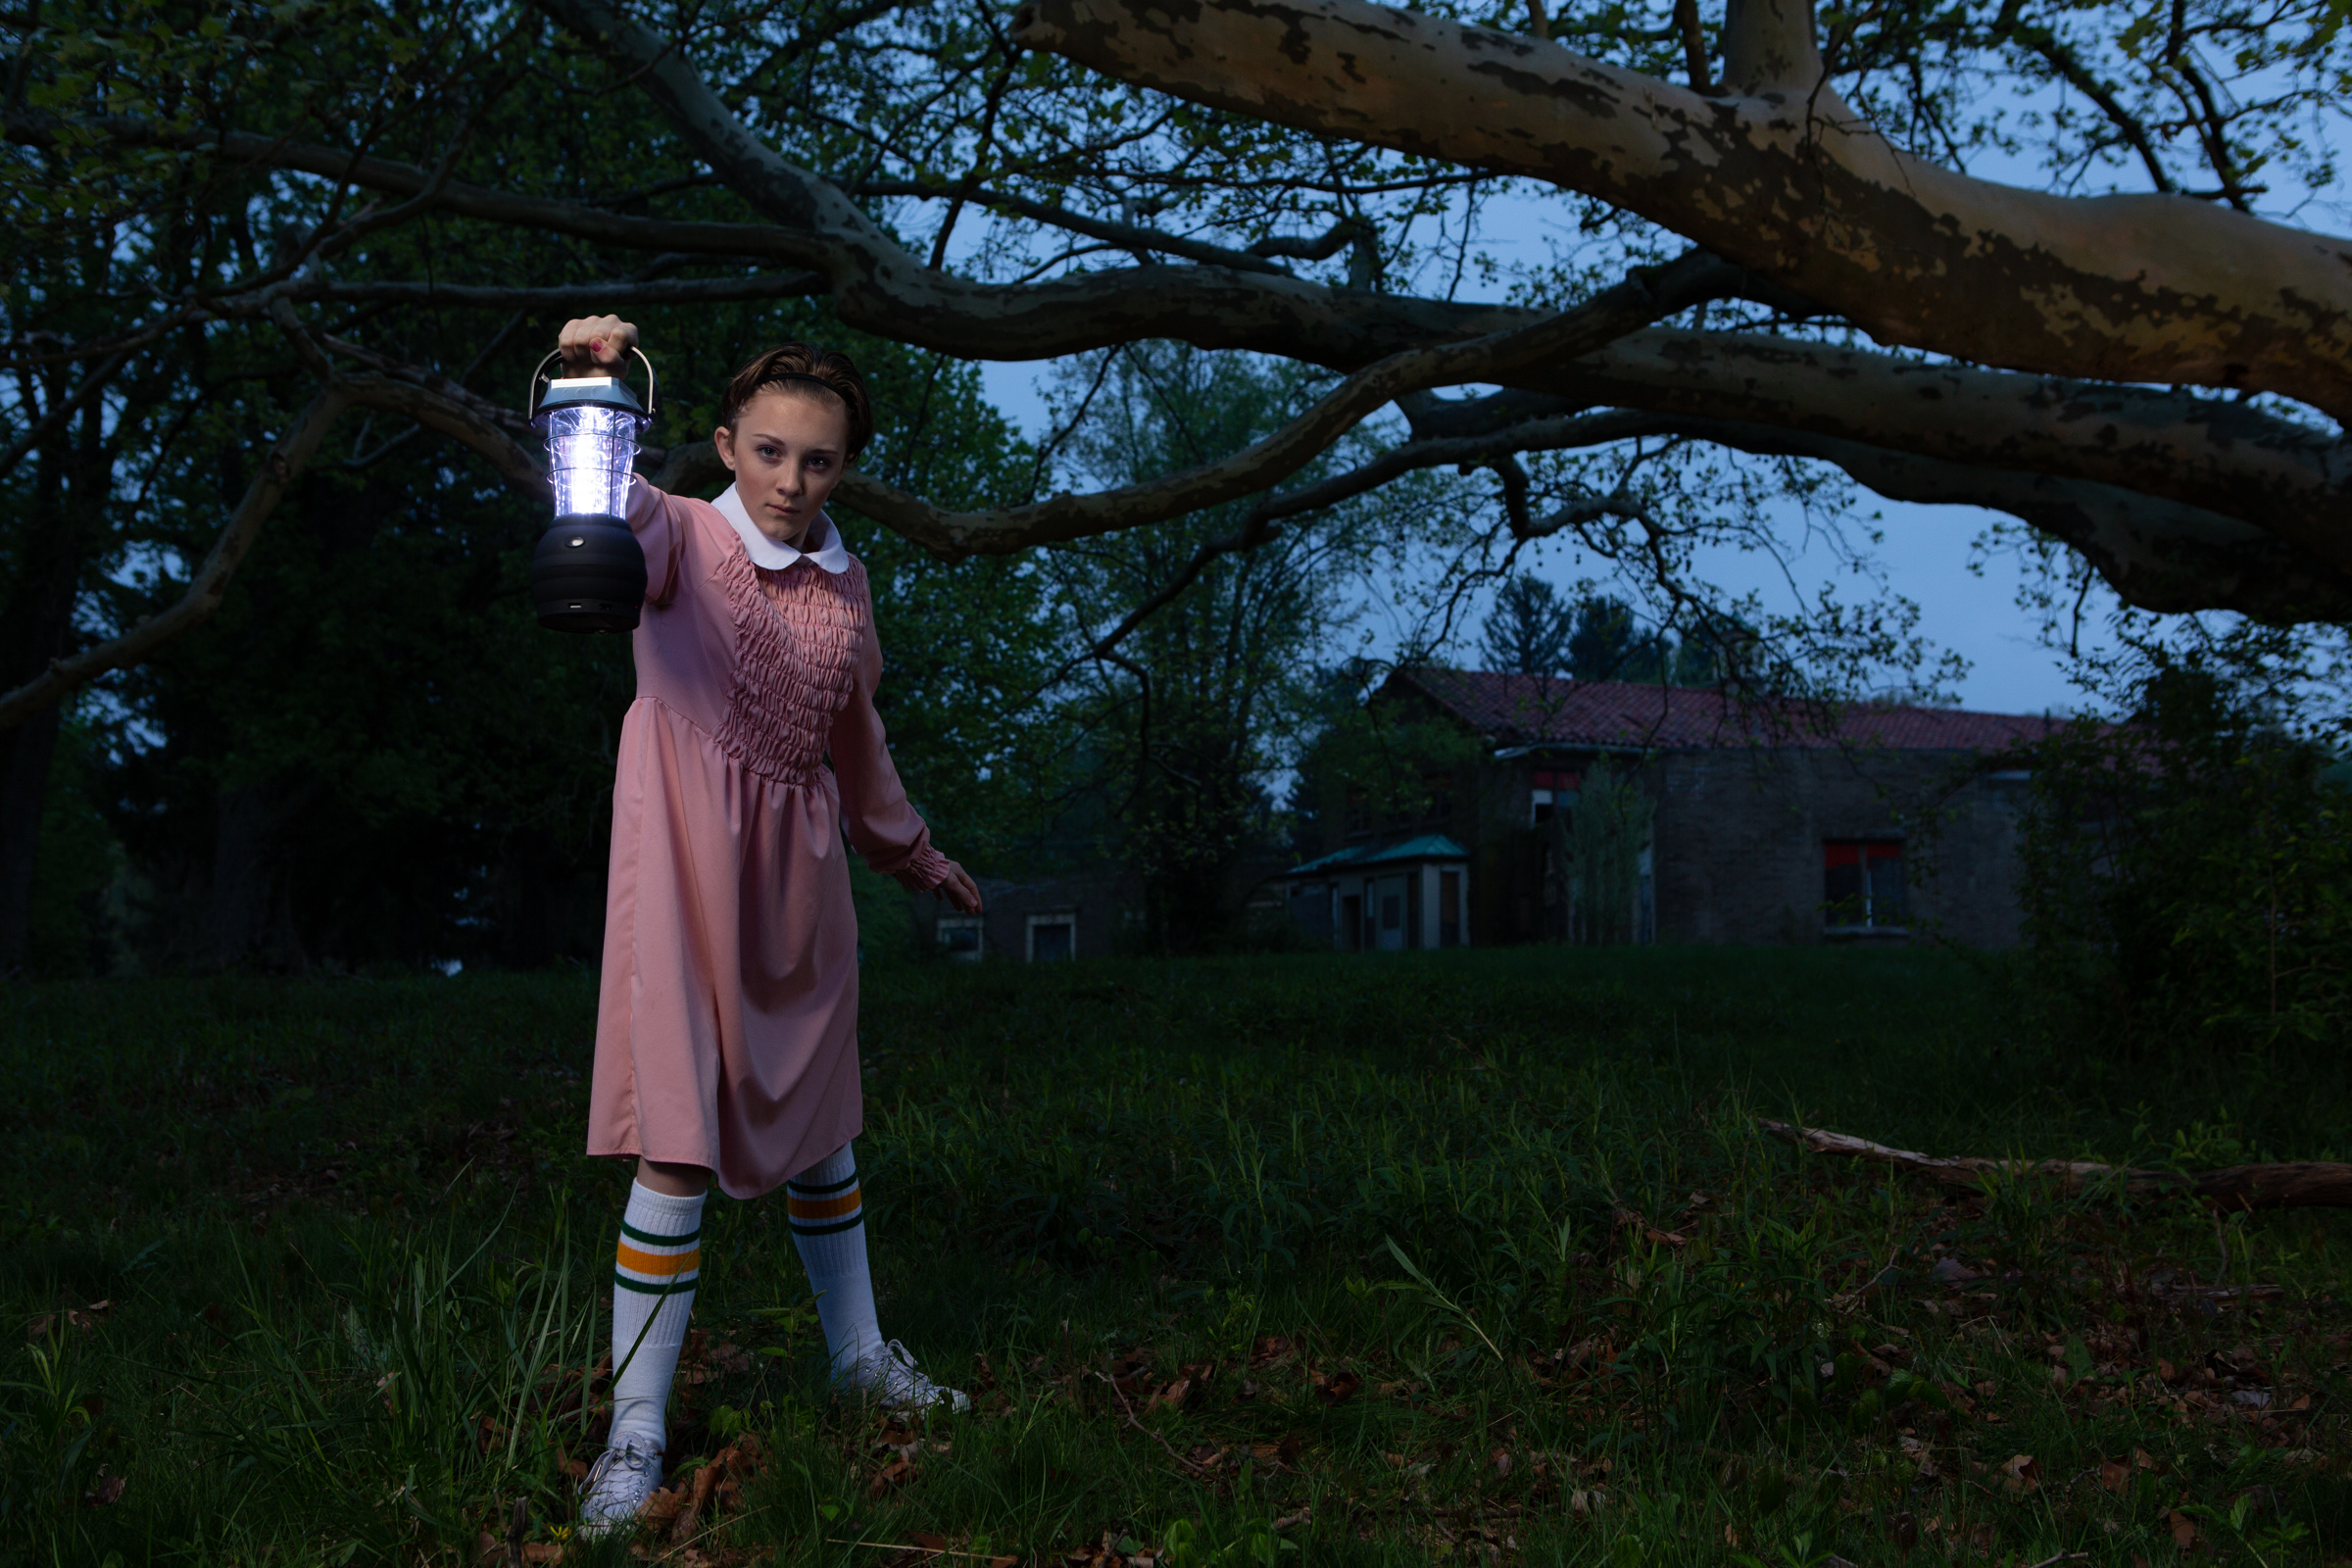
Because I would have to expose a little longer to compensate for the darkness (I don’t like to bump up the ISO unless absolutely necessary) I set the camera up on my tripod after scouted the location for the right angle. Using the tripod means I can have a slower shutter speed and still retain a sharp photo. Next I hustled to put up one 32 inch octa on a large light stand. The light was about 12 feet up and about 12 feet away and 45 degrees off center from the subject because I wanted to give the lighting more of a moonlight glow by the time it reaches our model. I then took a second light and positioned that opposite of the main light. It was much lower, with a 7 inch reflector on a bare bulb. I pointed the light so it would light her dark side with a little fill as well as light the bottom of the tree branches to help them retain a little detail from the shadows. Once we had the lights in place it was just a matter of getting the pose right and taking some pictures. To the right is one of the pictures we chose, straight out of the camera.
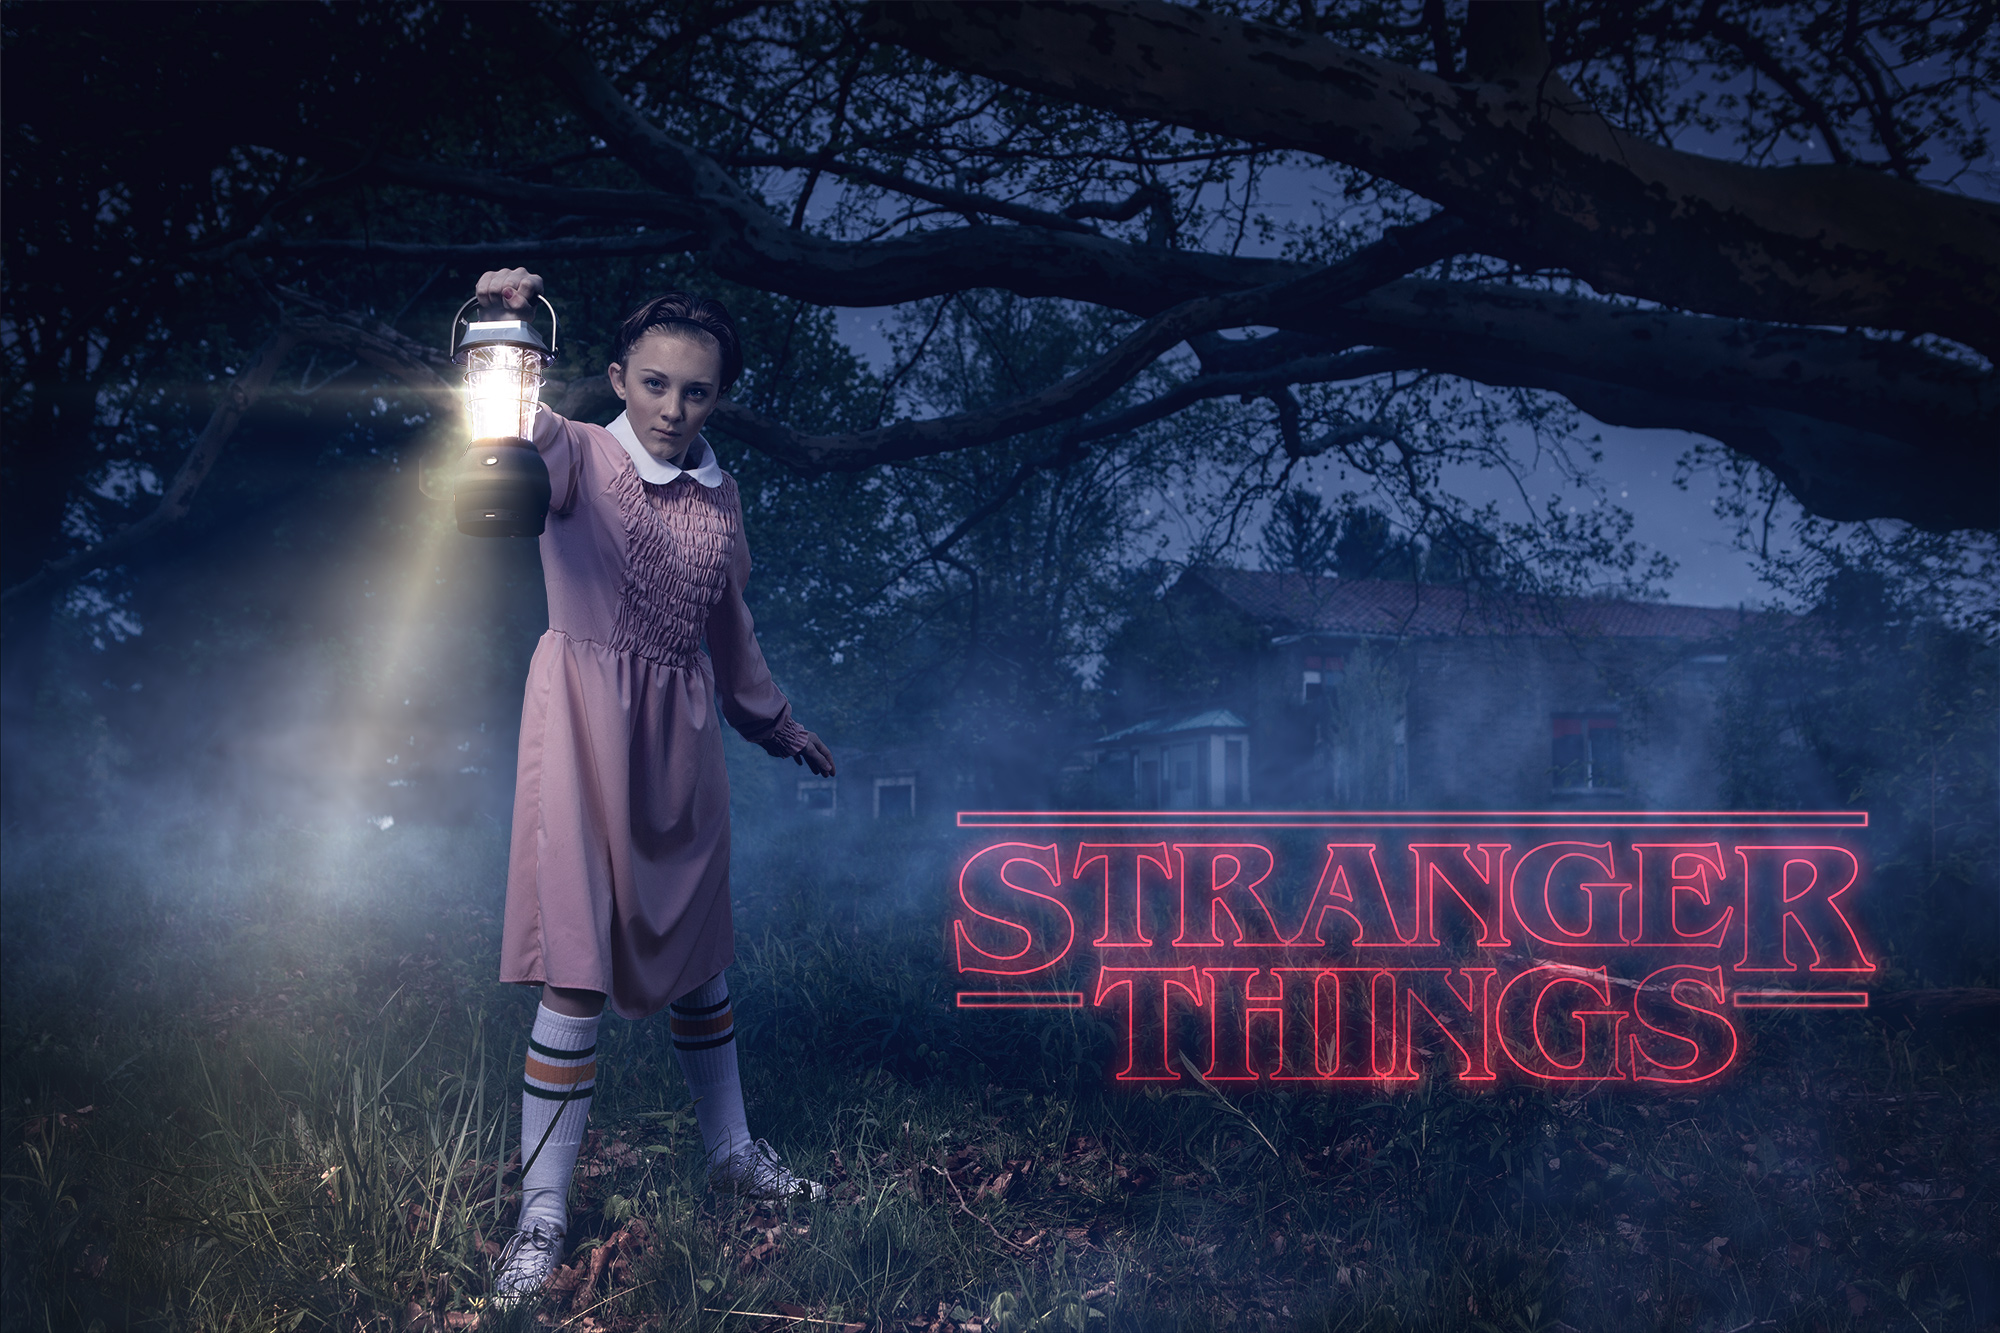
If you remember what I said at the start of this article, the 80’s are all about the lo-fi elements. This picture is ok as-is, but it doesn’t match either the spirit of the show, or the aesthetic of the decade it’s supposed to take place in – so there’s some work to do!
First thing I did was mess around with the RGB curves in Adobe Lightroom to flatten the dynamic range. I also de-saturated the image and boosted the blues in the shadows. Next, I took the photo into After Effects (yes, the video compositing program) and added in the fog and the light streaks for the lantern.
After Effects is, at it’s heart, an amazing piece of compositing software that does a lot of stuff, dare I say, better than Photoshop. If it’s not a part of your workflow, you should investigate it’s potential! Once I am done there I exported the file into Adobe Photoshop where I made a few final adjustments to color as well as any last tweaks.
Overall most of the color tweaks are done with curves adjustments and I use them throughout the process within all of the various programs I mentioned here. One thing that’s hard to explain is knowing where you should move from one program to the next. For this image, I worked in Lightroom until I had the base color correction in place. I then moved to After Effects to add in the fog and light flares because I know those processes are fairly easy for that program to produce. Photoshop is usually the last step because it’s great for the small details and final color correction.
Here’s the final image


