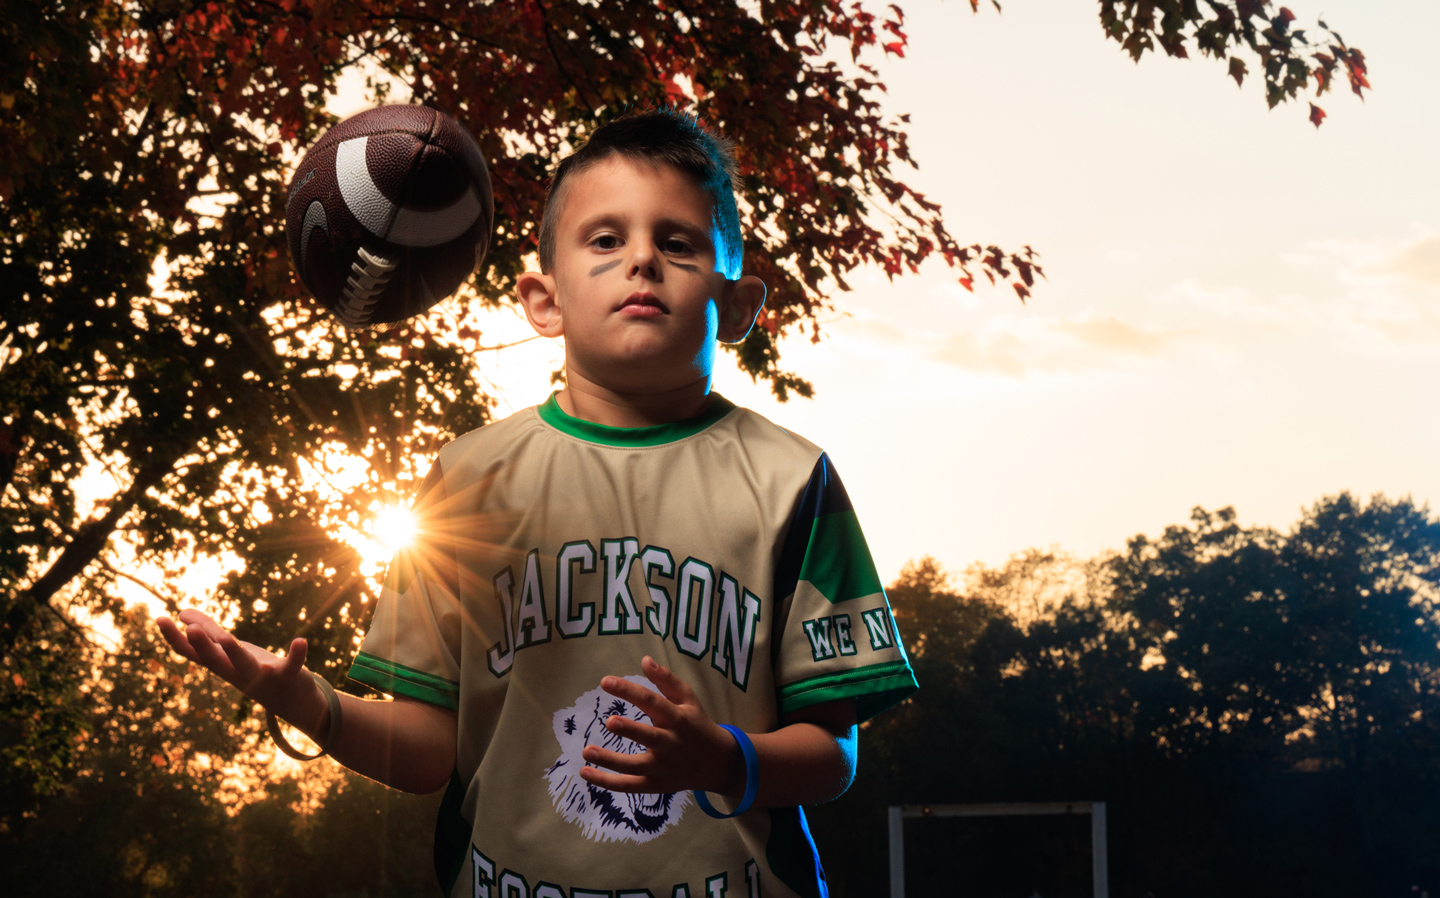
How To Take Unique Portraits of Young Athletes using the Sun and Flash at the same time.
I try not to think of it as a crutch, but I love using flash in my photography every chance I can. The hyper-realistic look it gives is totally my style. So, when a friend asked if I could come and take photos of the little league flag-football team he was coaching, I said, “Heck yes!”, and packed up my gear.
He said they would be ready around 6pm at the practice field. This was at the start of Autumn so I knew that would mean the sun was going to be low in the sky, but still visible above the trees – I could use this to my advantage. I grabbed two lights, one octobox, and one cyan gel and made my way over to the field.
Once I got there, I was met with more luck as I found a little grotto of trees not that far from the field. It had the bonus of being on a small hill, which meant I would have even more leverage with framing the sun. I worked fast to set up the lights because the sun was setting much quicker than I had anticipated, but because I knew exactly what I wanted, it mean I just had to get things in place, fire a few test shots, and I would be ready. It only took about 5 minutes to get everything set up.
The Gear
Here’s what I took with me.
- EOS R5
- 2 AD300 Pro Flash heads from Flashpoint
- 1 remote to trigger the flash heads
- 1 Cyan color gel
- 1 Glow 30inch Octobox
- 1 Standard Light Stand
- 1 C-Stand
Using the setup illustrated below, I placed the main light on the C-Stand, modified with the Octobox, so it would light downward on the kid’s faces. I wanted fairly strong shadows because I wanted these pictures to have an athletic power to them, and strong shadows equal more drama. To turn the drama up even more I added a bright back light behind the subjects to camera-right. This flash has no modifier but does have a deep cyan color gel over the light to give it a nice, cool color tone.
Most importantly, I positioned all of the gear so that the sun would be behind our subjects, hopefully peeking out to the side, adding a starburst effect when possible.
Here is a front and side diagram of how I had my gear and subjects positioned.
Front View

Side View

The resulting photos are the result of a mixture of planning, experience, and being at the right place at the right time. I mean, you can plan for a lot of stuff, but to get the weather and Sun to cooperate as well as they did, well, let’s just say I owe a lot to Mother Nature for how well these photos turned out.
What do you think? Are these pictures good? Let me know by following and chatting with me on Instagram and Twitter! Be sure to share some of your own photos with me as well – I’d love to see what everyone has been working on so far this Fall!

