What are the ethics behind manipulating a product photo for marketing purposes?
I’ve been a graphic designer for nearly 15 years longer than I’ve been a professional photographer. If you’ve ever bought a router, used a modern operating system, or purchased a piece of tech equipment within the last two decades there’s a really good chance that you own something designed by yours truly.
One of the very first things I learned from the creative directors I was working for was that we had to make the client’s products look good, even if the photos given to us weren’t. That often meant hours of manipulation in photoshop to make the products look as appealing as possible. As I graduated from production artist to creative director I found myself directing others to make the same changes to sub-par product photos. I was so entrenched in that mentality that when I started to take up photography and began taking my own product photos I would often shoot-for-PhotoShop — meaning I would take the photos knowing that any mistakes I made during the photo process would be fixed in post. I should state now that I am not knocking that particular fix-in-post workflow — twenty-plus years into my creative career I am still being handed terrible product photos that need to be fixed; I am sure this is true for thousands of designers every day.
This does pose a question, however: Is it ethical to manipulate photos of products?
The quick and easy answer is, yes. The nuanced answer is, maybe.
As stated above, there are times where the photos you are given won’t work for the task at hand. There are a lot of under-experienced photographers being paid for work that is above their skill level. A lot of times the marketing team who is hiring those photographers don’t actually know what they need either. The combination of those two things usually means someone else down the line has to clean things up. In these cases, you have no choice but to manipulate photos until everything comes together as it was originally planned. To stay ethical under those circumstances you are allowed to re-light and make minor touch-ups to the product.
By “re-light” I mean you can use creative means to change how the product would look under different lighting conditions. This includes additional colors and reflections too. After all, lighting a reflective surface is hard for most photographers, so one of the major tweaks we would make to product photos would be adding in reflections that would mimic well place lighting back in the studio. This change is probably, to this day, the most prevalent change you’ve seen in product photography. Any time you buy a TV at a store and the image of the TV on the box has a big white, diagonal reflection on the screen there’s a 99.999% chance that reflection is PhotoShopped in.
There were also times when the products being photographed were dummy products – empty shells used for prototyping. In those cases, we would use PhotoShop to clean them up, digitally add in labels, stickers, and maybe some indicator lights that would have been there if the product had been real.
Where things get a little gray on the ethics side of things is when items aren’t photographed at all. Instead, they are 3D modeled to such a state of perfection that the final render is of an object in such condition that a real item could never be. Think of iPhones. There hasn’t been an actual marketing photo of an iPhone for some years now. All of those official iPhone “photos” are 3D renders. The problem is those renders are so pristine and clean that they can’t even accurately represent a real iPhone, not even a brand new un-opened iPhone. Apple and Google manage to skirt these issues because, in reality, they are advertising their products as lifestyle choices more than physical objects (you’re buying the brand), and therefore their dream world-like advertising renders fit in with the ideal they are selling you.
But, what if you are a photographer who needs to get a compelling photo of a product that never lives in ideal conditions. For instance, what if there’s a product that is either too large to photograph in a studio or lives in harsh conditions that makes it nearly impossible to photograph without some sort of heavy manipulation in post?
Something like this happened to me recently. I was asked to take a photograph of a massive truck scale. The scales are so large that they are only assembled on-site, and the conditions are such that they are often dirty and in use the very second they are done being constructed. What I am trying to say here is that there was no way I would be able to get a clean photo in-camera. I was going to have to do some heavy lifting in PhotoShop.
When we got to the site the day after the installation it was actually worse than we had expected. The scale was installed at a concrete factory and the last 16 hours of use on the scale had not been kind. It actually looked like a scale that had been there for several years. It was covered in concrete, had huge oil stains on it – it was a mess. Nothing short of a professional paint crew was going to bring this thing back to factory condition.
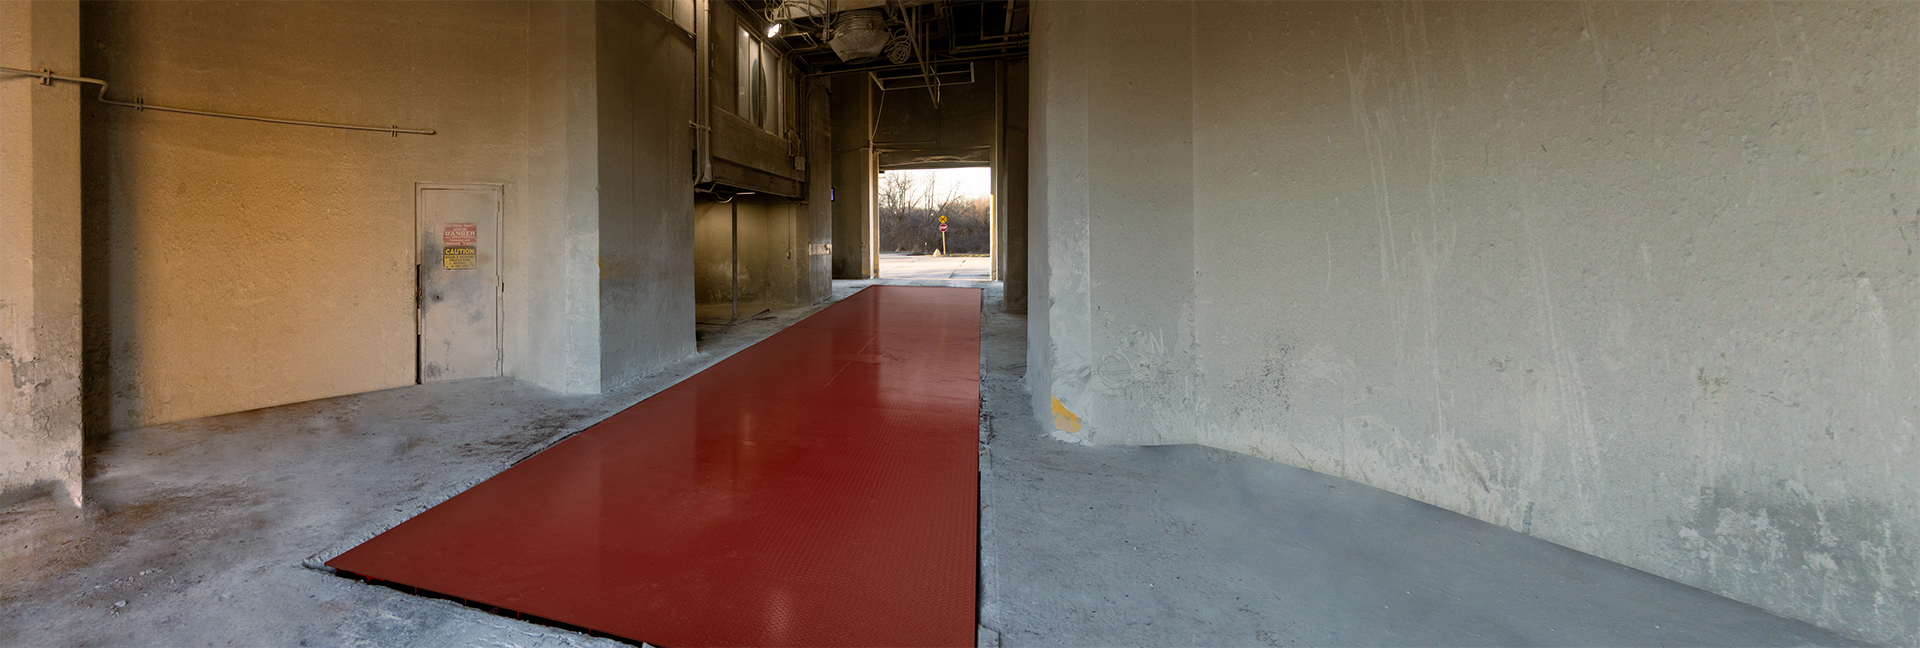
With that in mind, I set myself up for a panorama, taking 3 photos of the scale that I would combine later in Lightroom. I choose a panorama because I knew it would give me more total pixels to work with in PhotoShop. Once I got back into the office and stitched the photo together I then used a handy program called fSpy to help me figure out the 3D coordinates of the truck scale in the photo. This is useful because my plan was to create the scale’s deck (the part the trucks drive on) in 3D.
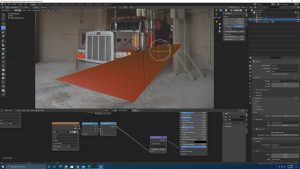
With the coordinates set I was able to quickly craft a new deck surface in 3D, complete with diamond plate texture and candy red painted surface. Because the 3D coordinates matched the originalphoto I was able to simply drag-and-drop the 3D render onto a new layer above the original photo in PhotoShop and everything lined up. I then used some layer masking to marry the scale into the background. The next step, however, was the most tricky. The 3D scale was too clean, it didn’t look real, it looked rendered, and I wanted it to blend in realistically with the environment.
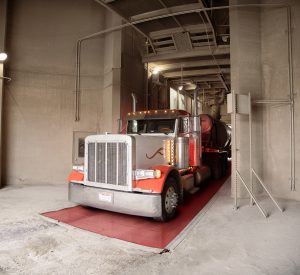
To dust it up a bit I simply pushed the opacity of the rendered layer to around 85% – this allowed some of the grunge from the real scale to bleed through, adding grit and texture. I then selected, copied, and pasted parts of the original scale on top of the rendered layer to further bring out some of the texture. Layer blend modes came in handy during this step. The last bit of detail was adding in shadows that would be cast naturally onto the surface from the truck above it.
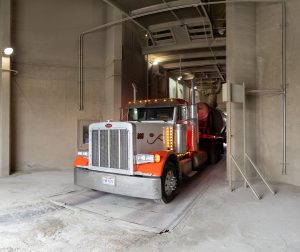
The goal was to create a product photo that showcased the client’s product as it should straight from the factory floor without stepping outside of the bounds of reality and ethics. You can see the original photo, 3D render, and final photo below.
Benjamin Lehman is a Commercial Photographer in the Canton, Akron, Cleveland, and North East Area of Ohio.
Because I am not trying to hide the fact that the client’s product will live a rough life, and that my 3D render isn’t an unrealistic, pristine version of the product, this photo lives within the acceptable range of what is ethical in terms of its representation. It’s not always an easy line to walk, but if you are able to get your message across without visually exaggerating your product photography in post-production, you’ll be good.
