Spooky Halloween Portraits
I’ve previously written about using lighting, colored gels, and corrective filters to craft awesome portraits. In fact, it’s one of my most viewed blog entries. It also just happens to coincide with my favorite time of year (Autumn) and my favorite holiday (Halloween!)
I thought we would revisit this concept again, but up the anty a little bit by bringing in some extra atmosphere into the mix – fog!
Here’s the gear I used:
- EOS R5
- Tripod
- 2 AD300 Pros by Flashpoints
- 2 Standard light stands
- 1 Red lighting gel
- 1 Fluorescent corrective gel
- 1 Magenta-colored corrective lens filter
- 1 fog machine
Using Fluorescent Gels and Magenta Filters
Let’s talk about two things that have a direct relationship in our photo. The corrective fluorescent light gel and the corrective magenta lens filter. The important thing to know here is that whatever we light with our fluorescent gel (which is a pale green) will be color balanced by the use of the magenta filter on the camera. Why are we doing this? We do this because the magenta filter will only correct the subject matter that is directly lit by the green fluorescent gel – that means everything else, such as the background and the sky, will take on a deep magenta hue to it. Basically, we’re manipulating the background color in-camera, rather than in post.
Using Fog Machines
Using a fog machine in your photos is nothing new. If you are new to the concept I suggest you do a search for using fog machines in photography on YouTube – you’ll have no shortage of results to look at for a better perspective. What we are doing differently, however, is lighting the fog. Most photographers don’t bother with this step, but today, we are!
There’s really only one trick to lighting fog and that is always light it from side or rear, never from the front. Lighting fog from the front will wash it out and you’ll just have a very non-dramatic haze infiltrating your photo. Lighting from the rear will give you a nice cinematic spread to the fog with a visible hotspot around the light’s origin. My favorite option, however, is to light it from the side which will give you an amazing amount of detail to the fog that would otherwise just seem fairly flat. For our photo, we’re placing our fog machine to camera-right, behind a tree, and we’re placing our light (with a theatrical red gel) just out of frame on camera-left, pointed towards the flow of the fog.
Before we go any further, let’s take a peak at what our scene looks like without any lighting or fog.
Au Naturel
I’ve pumped up the exposure slider here because it was actually pretty dark outside. The sun had already set and I was just starting to block out the scene. Regardless, we can see just how plain this photo is in its current state. The next step will be to plant the camera on the tripod and to set up the lights and the fog machine as I described above.
")
Lighting and Color Correction
By this point, I’ve dialed in the camera to expose for the environment, which I basically want as close to black as possible with the exception of the small traces of sky peaking through the trees. I attached my magenta filter to my camera lens and the fluorescent gel to the light and took a couple of test shots to get the lighting to just about where I wanted it. In this photo, you can see that even though our subject (we call her Emily) is color neutral thanks to our gel and filter canceling each other out, the sky, which was bluish in our last photo, is now a deep purple.
-3")
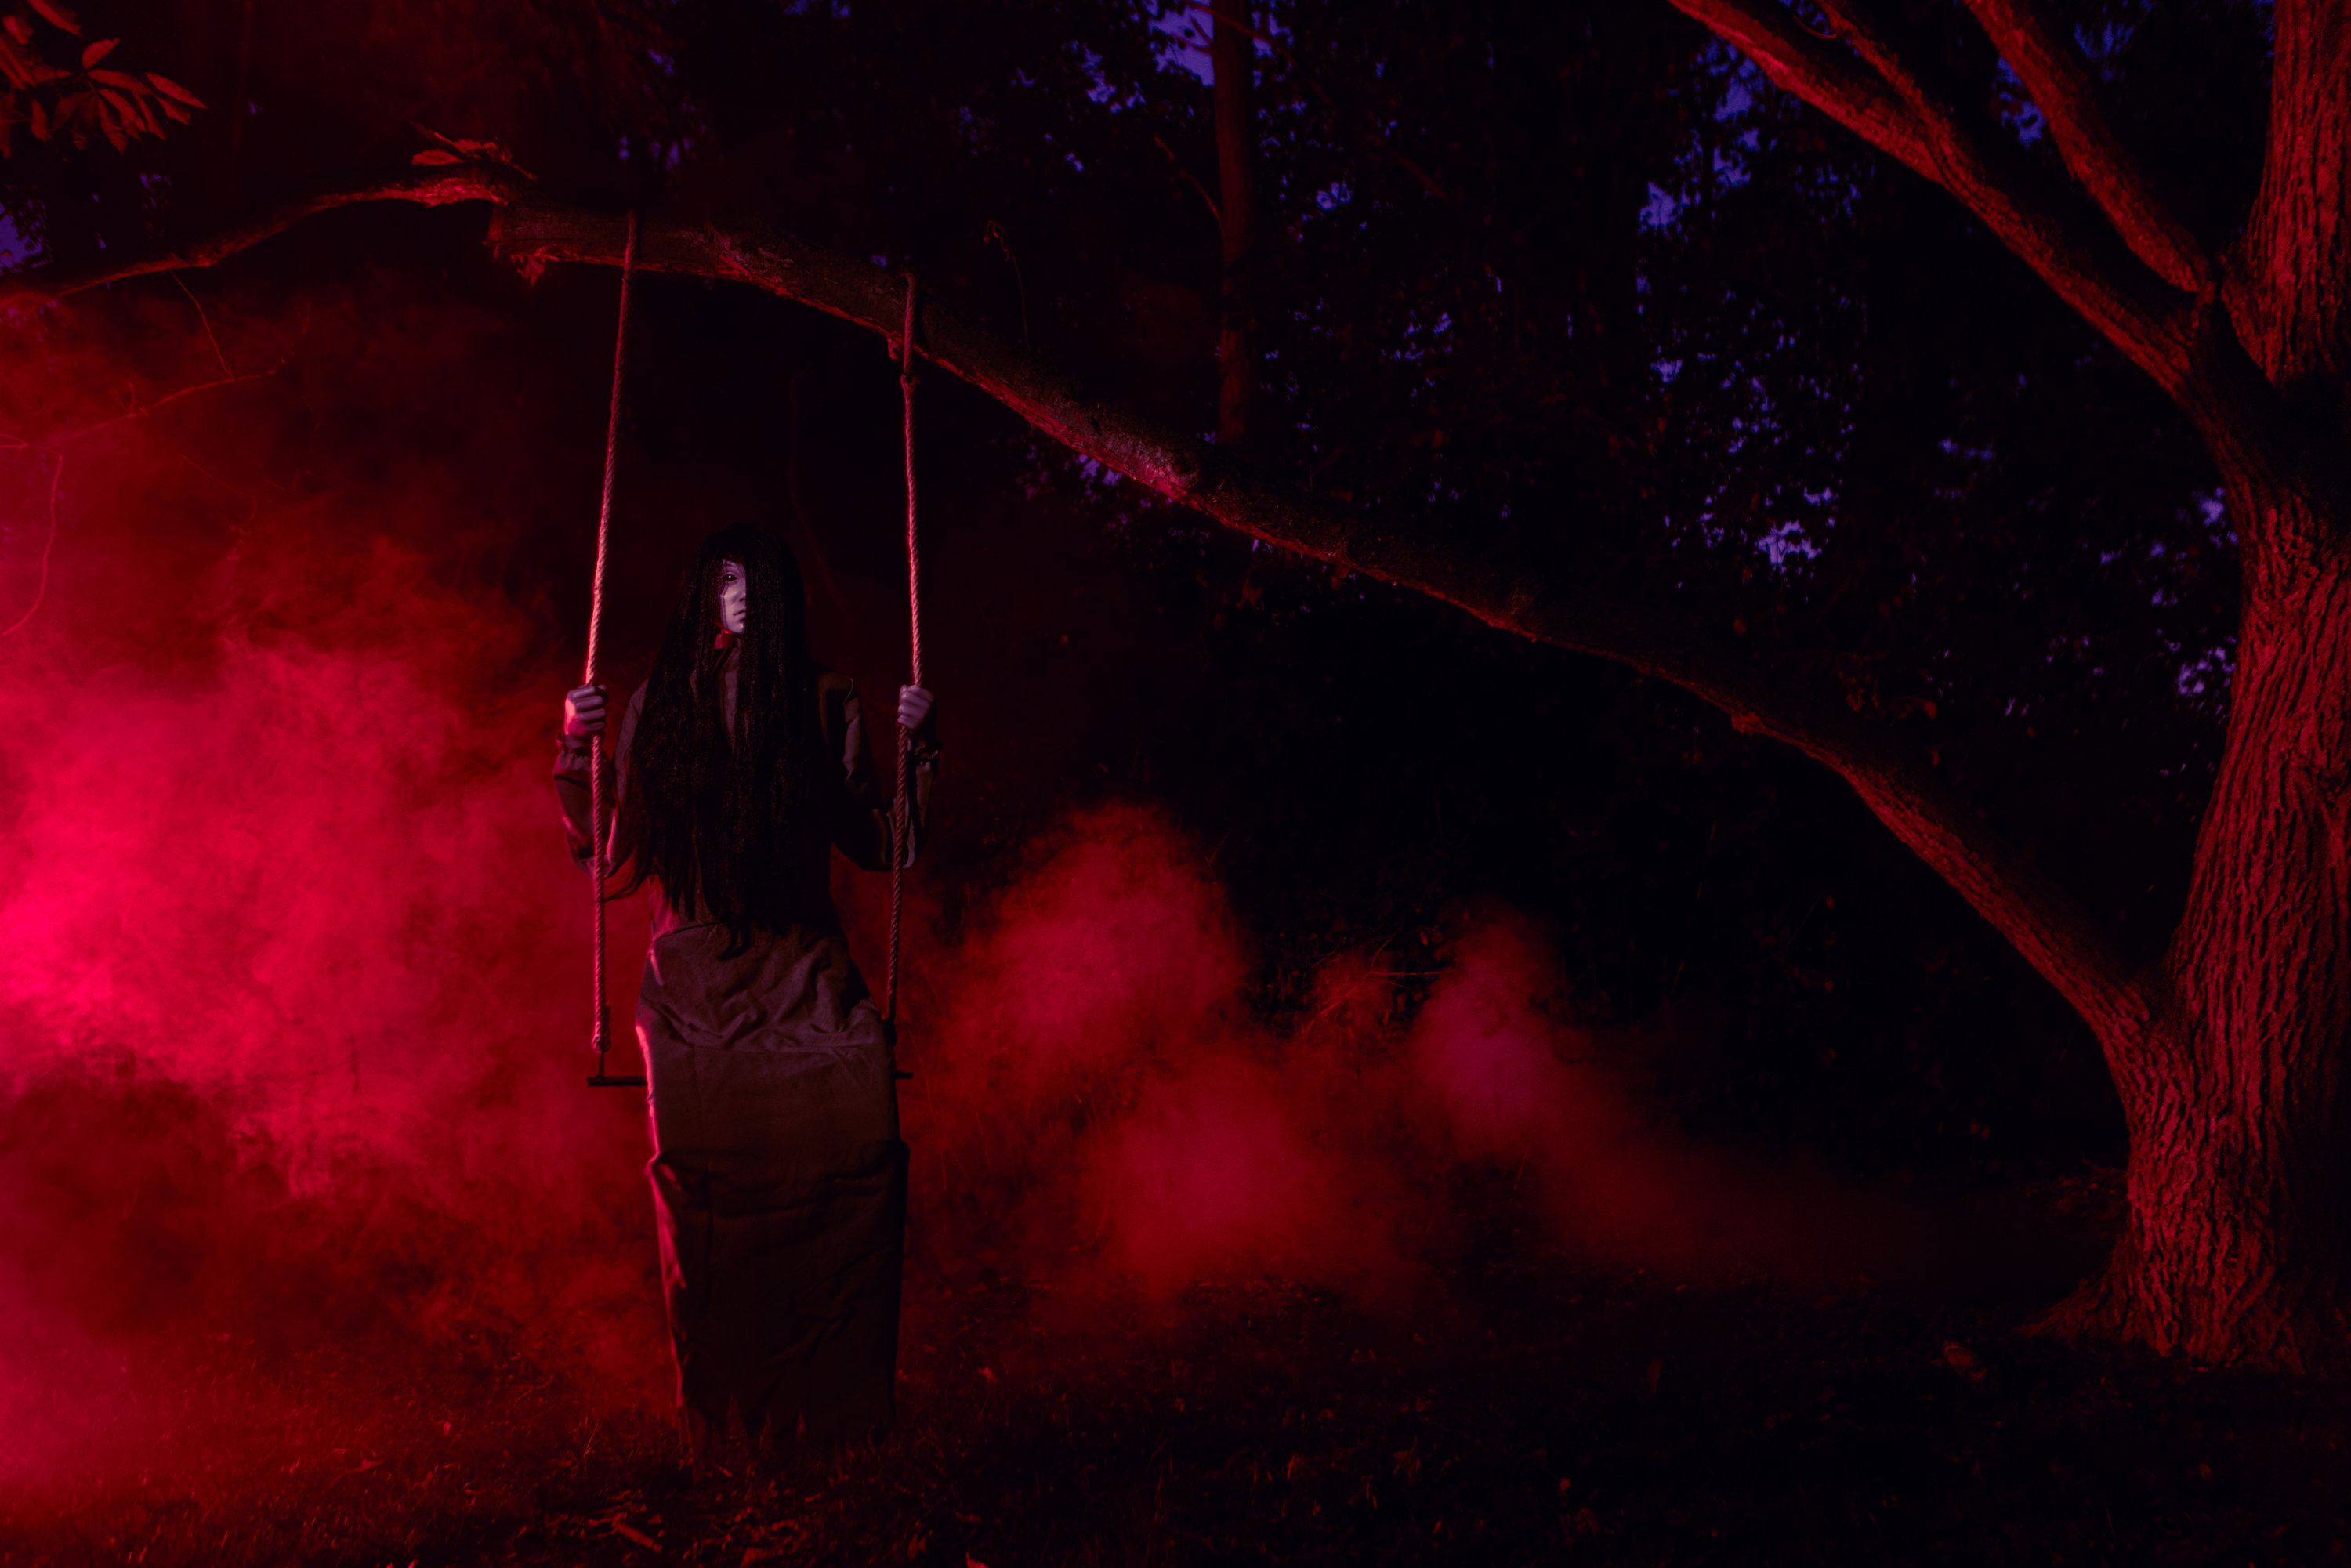
Red Lights and Fog
The last step is turning on the fog machine and making sure the flash is putting out the desired amount of light to make it pop. I am not using a modifier other than the red gel. I am trying to position it in such a way that the light avoids touching the background while still hitting the fog, the right side of Emily, as well as edging out the tree so it stands out from the mostly black background. With all of that in place, we get our final photo!
-4")
I love taking dark and moody photos like this. One of my favorite pieces of advice I’ve heard is, “If you want a photo to be interesting, don’t light everything.” Here we’ve taken that concept to the extreme and have only lit a few specific things.
I’d love to see what Halloween photos you’ve been taking! Add me on Twitter and Instagram and be sure to follow and tag me on any photos you’ve had a chance to craft – can’t wait to see them!